Well, my fourth grade teacher would say, "Cakes are done, people are finished." So...the chairs are finished? Anyway the point is LOOK AT THIS.
And it only took us four months. (Hahahahahaha get it?? Because four months is a really long time.)
We started this project in late April when I saw some chairs at an estate sale with a friend of mine. I brought them home with the earnest intention of refinishing them alllll by myself. To be fair to me, it did at least start as an independent project...
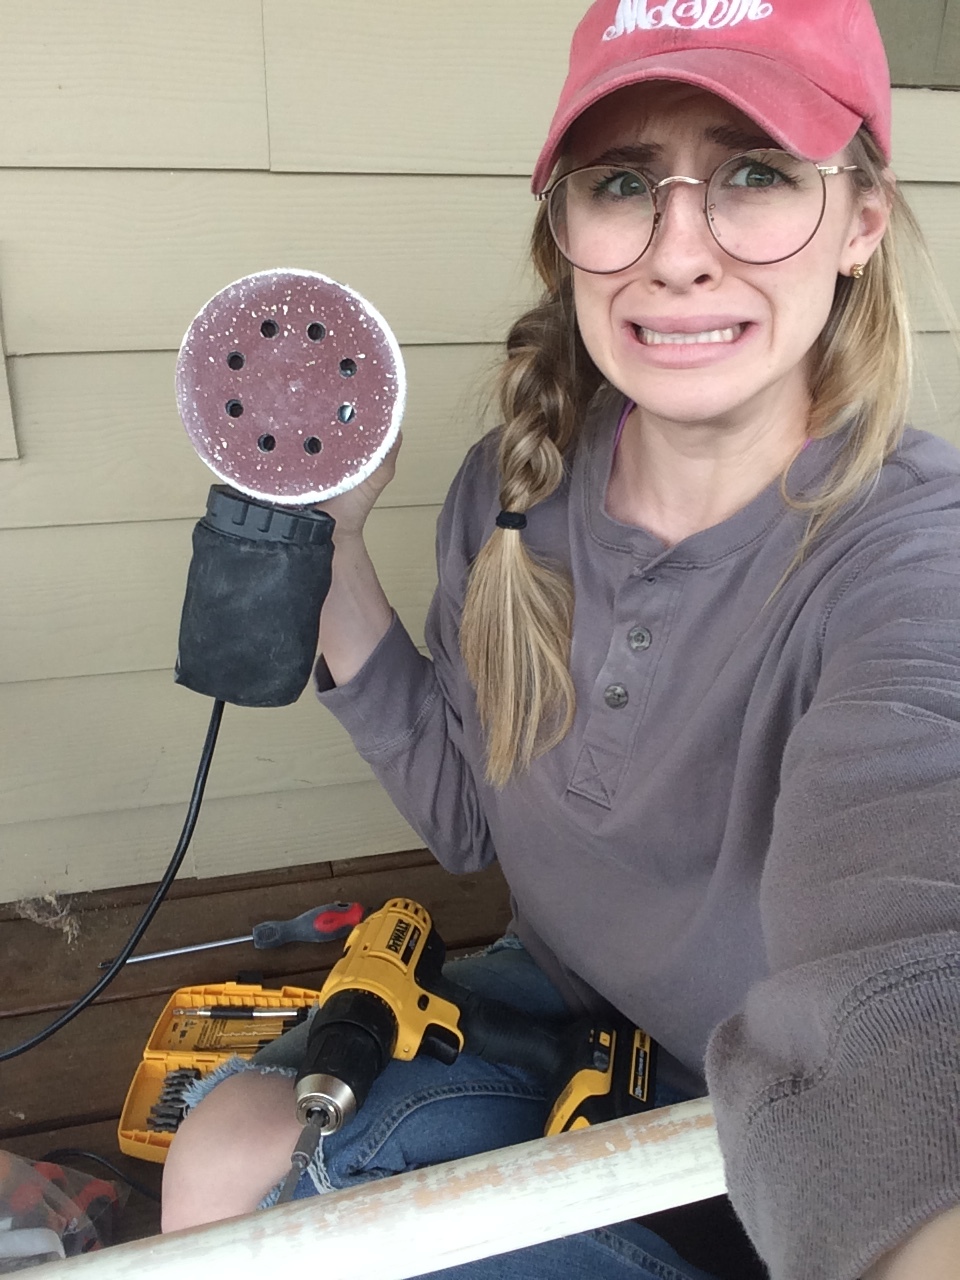
...it wasn't so successful. This was taken right after I Googled "How do you use a palm sander?" and then went on to sand an entire corner of this chair clean off.
Oops.
Thankfully, I married a handyman who came to the rescue.
My hero.
If you haven't read through the first three posts about this project, I encourage you to do so now so that you can appreciate the glory that is the final product right along with me:
Here's Part I.
Part II.
And Part III.
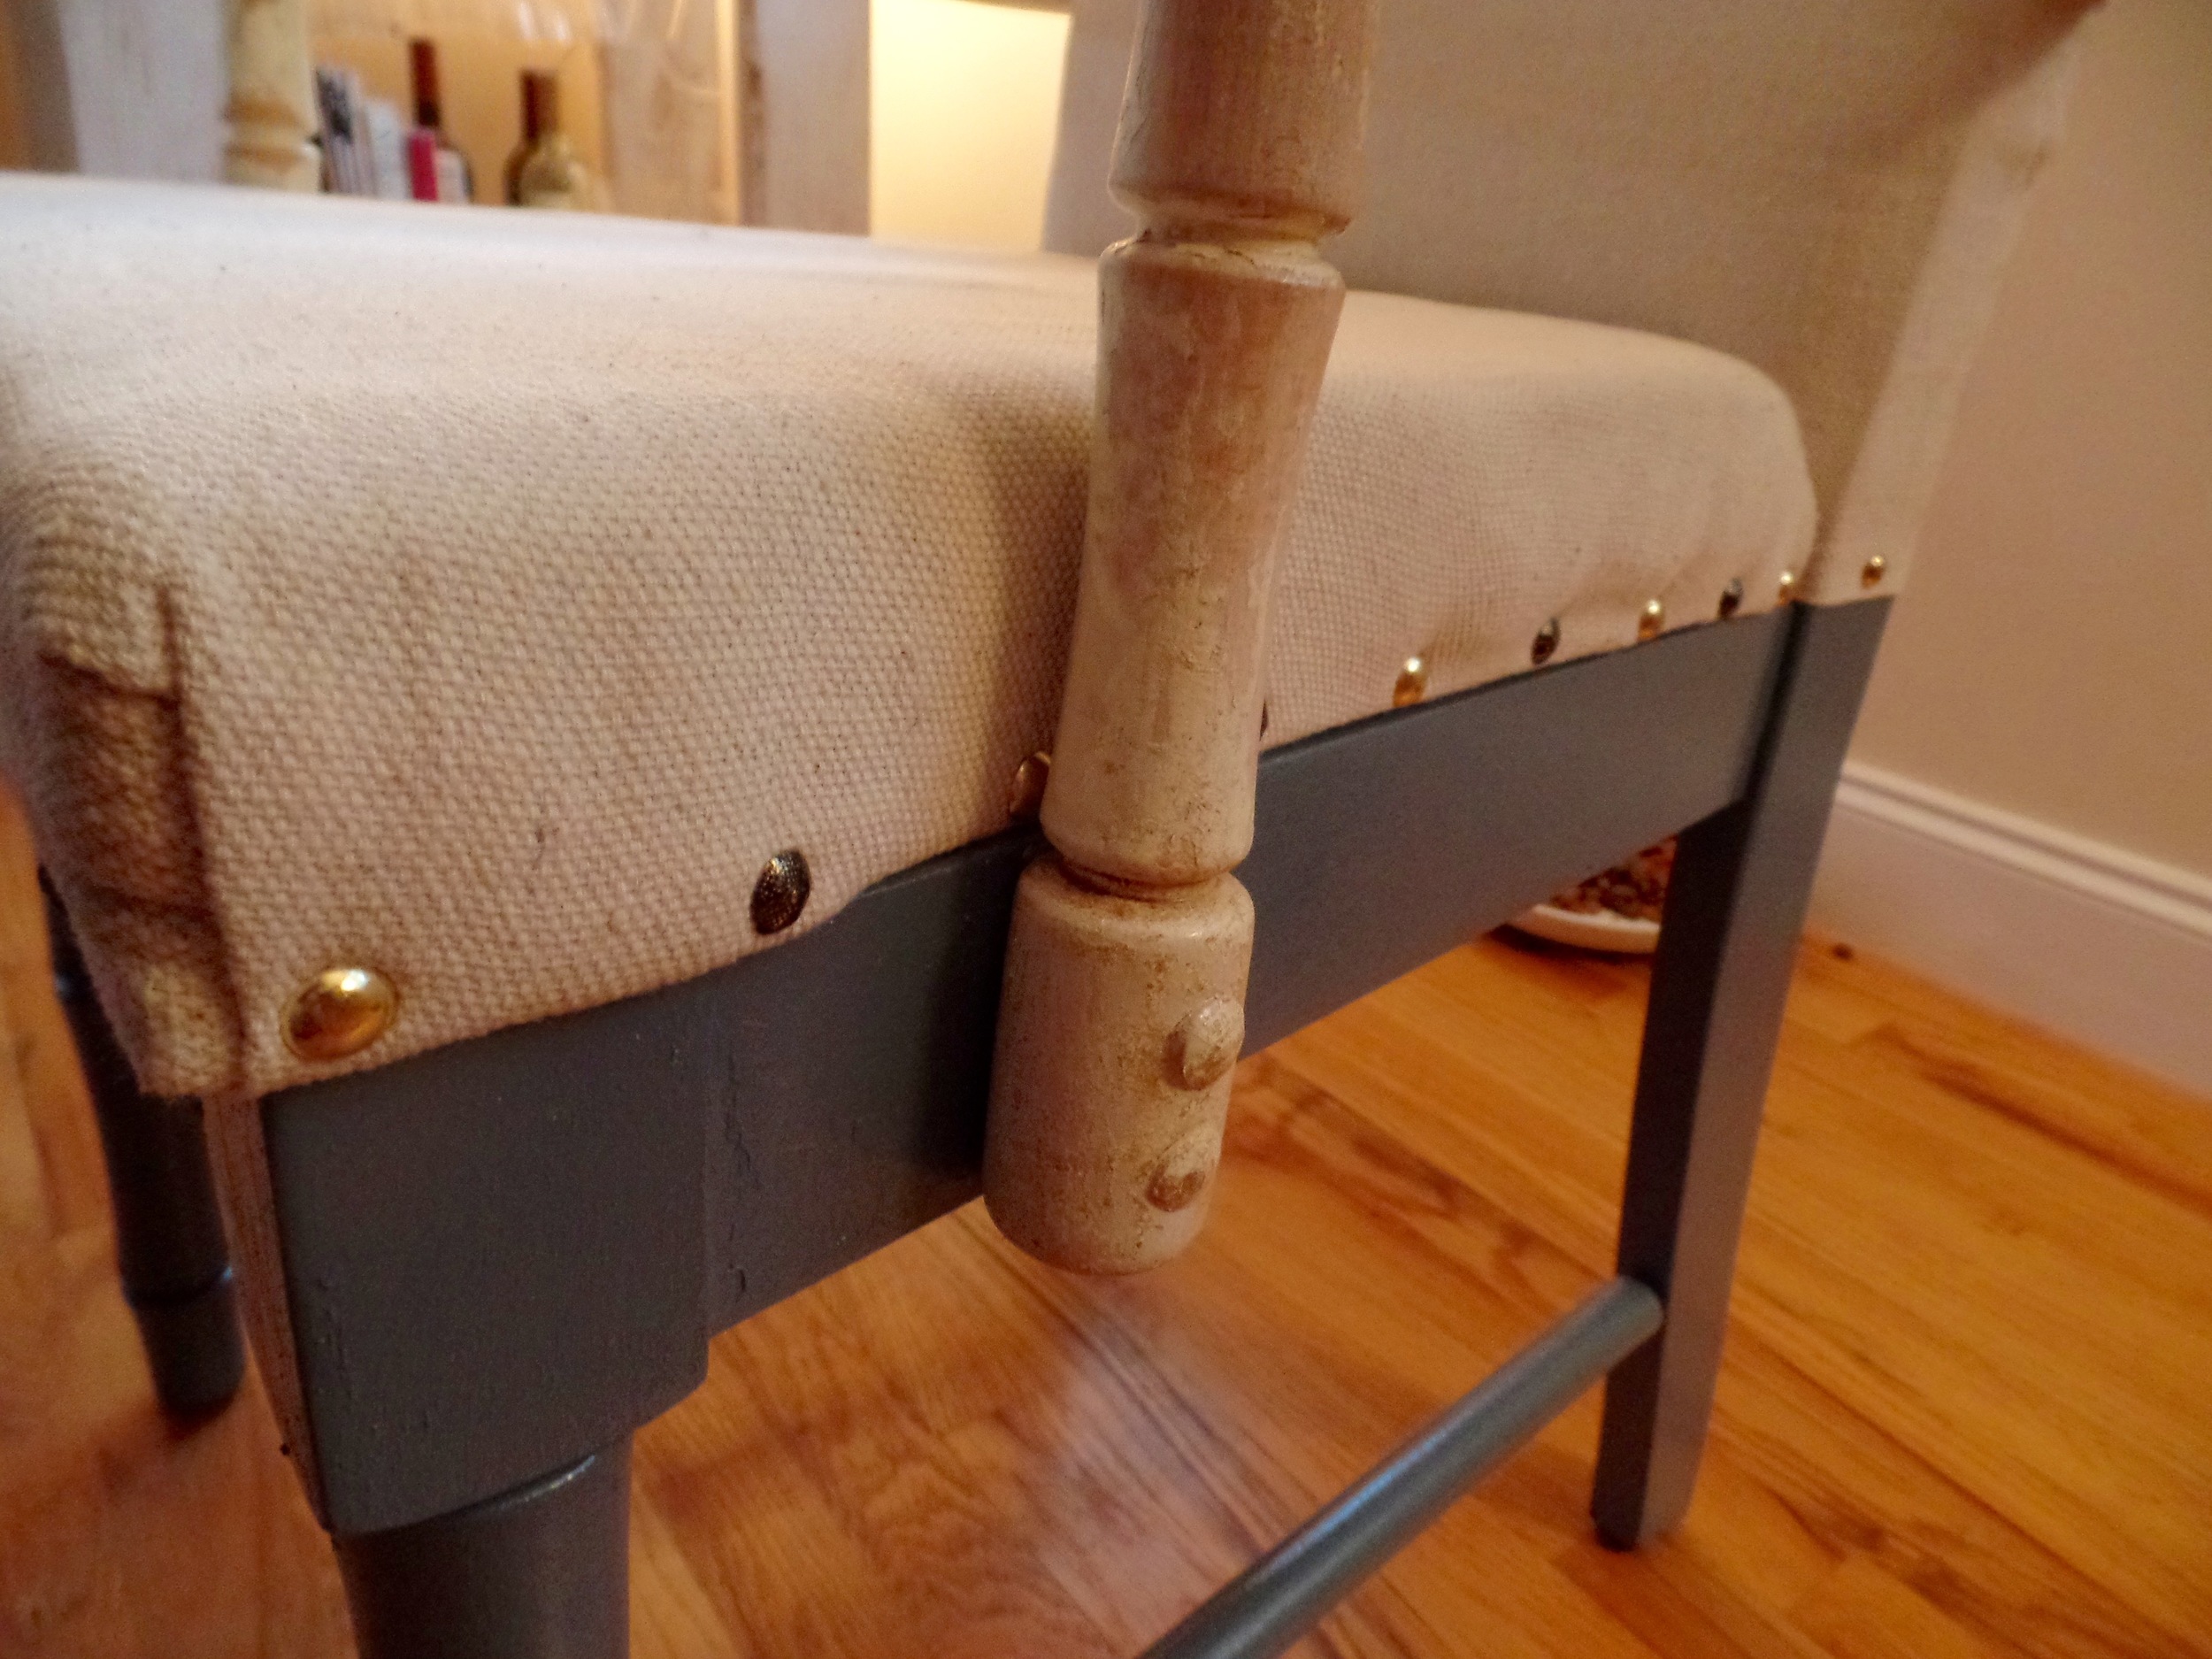
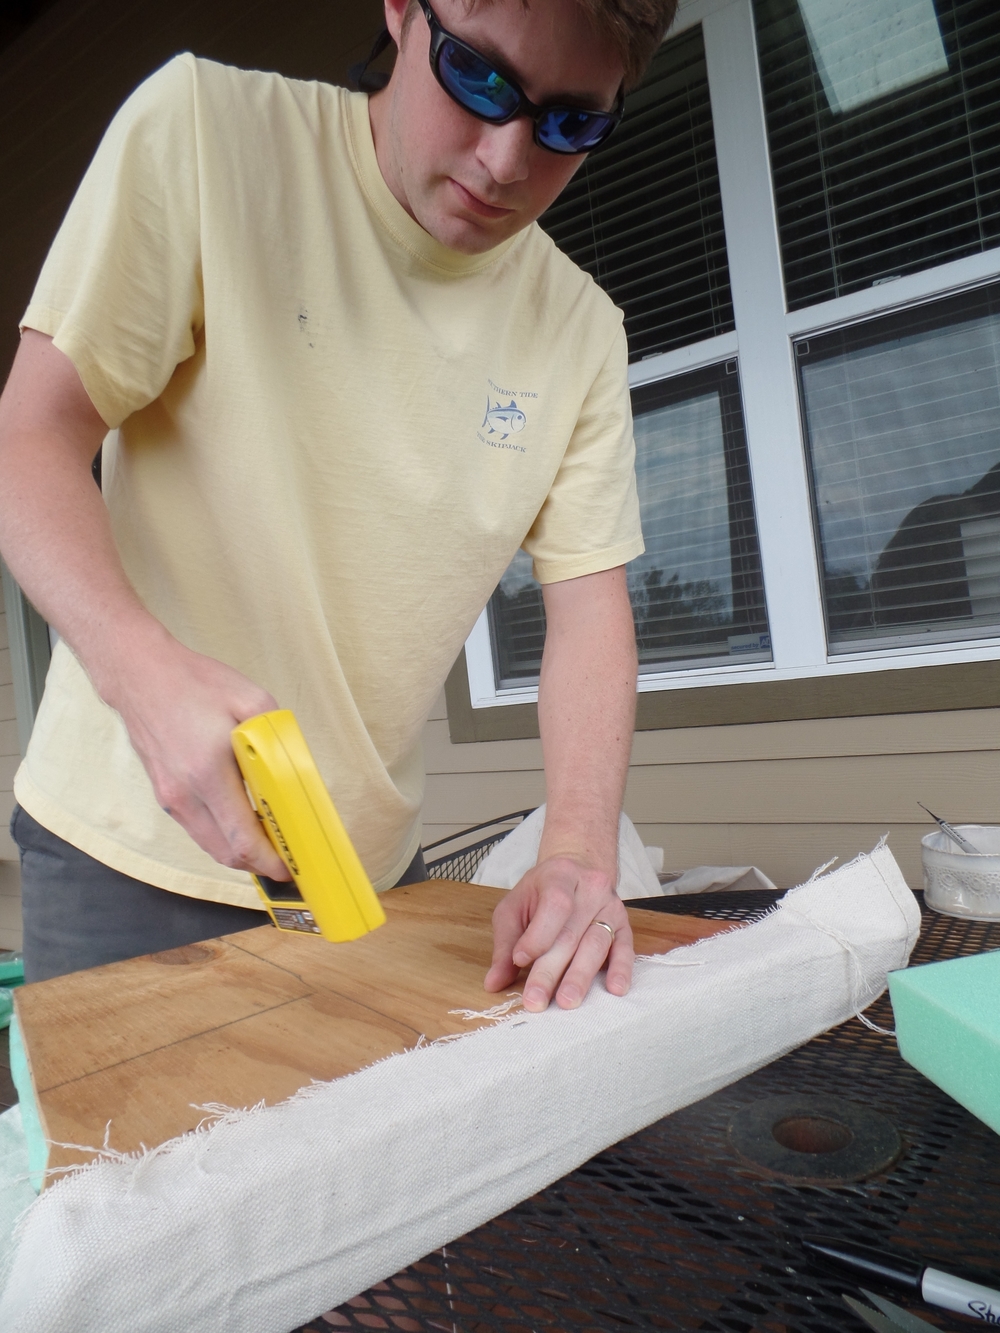
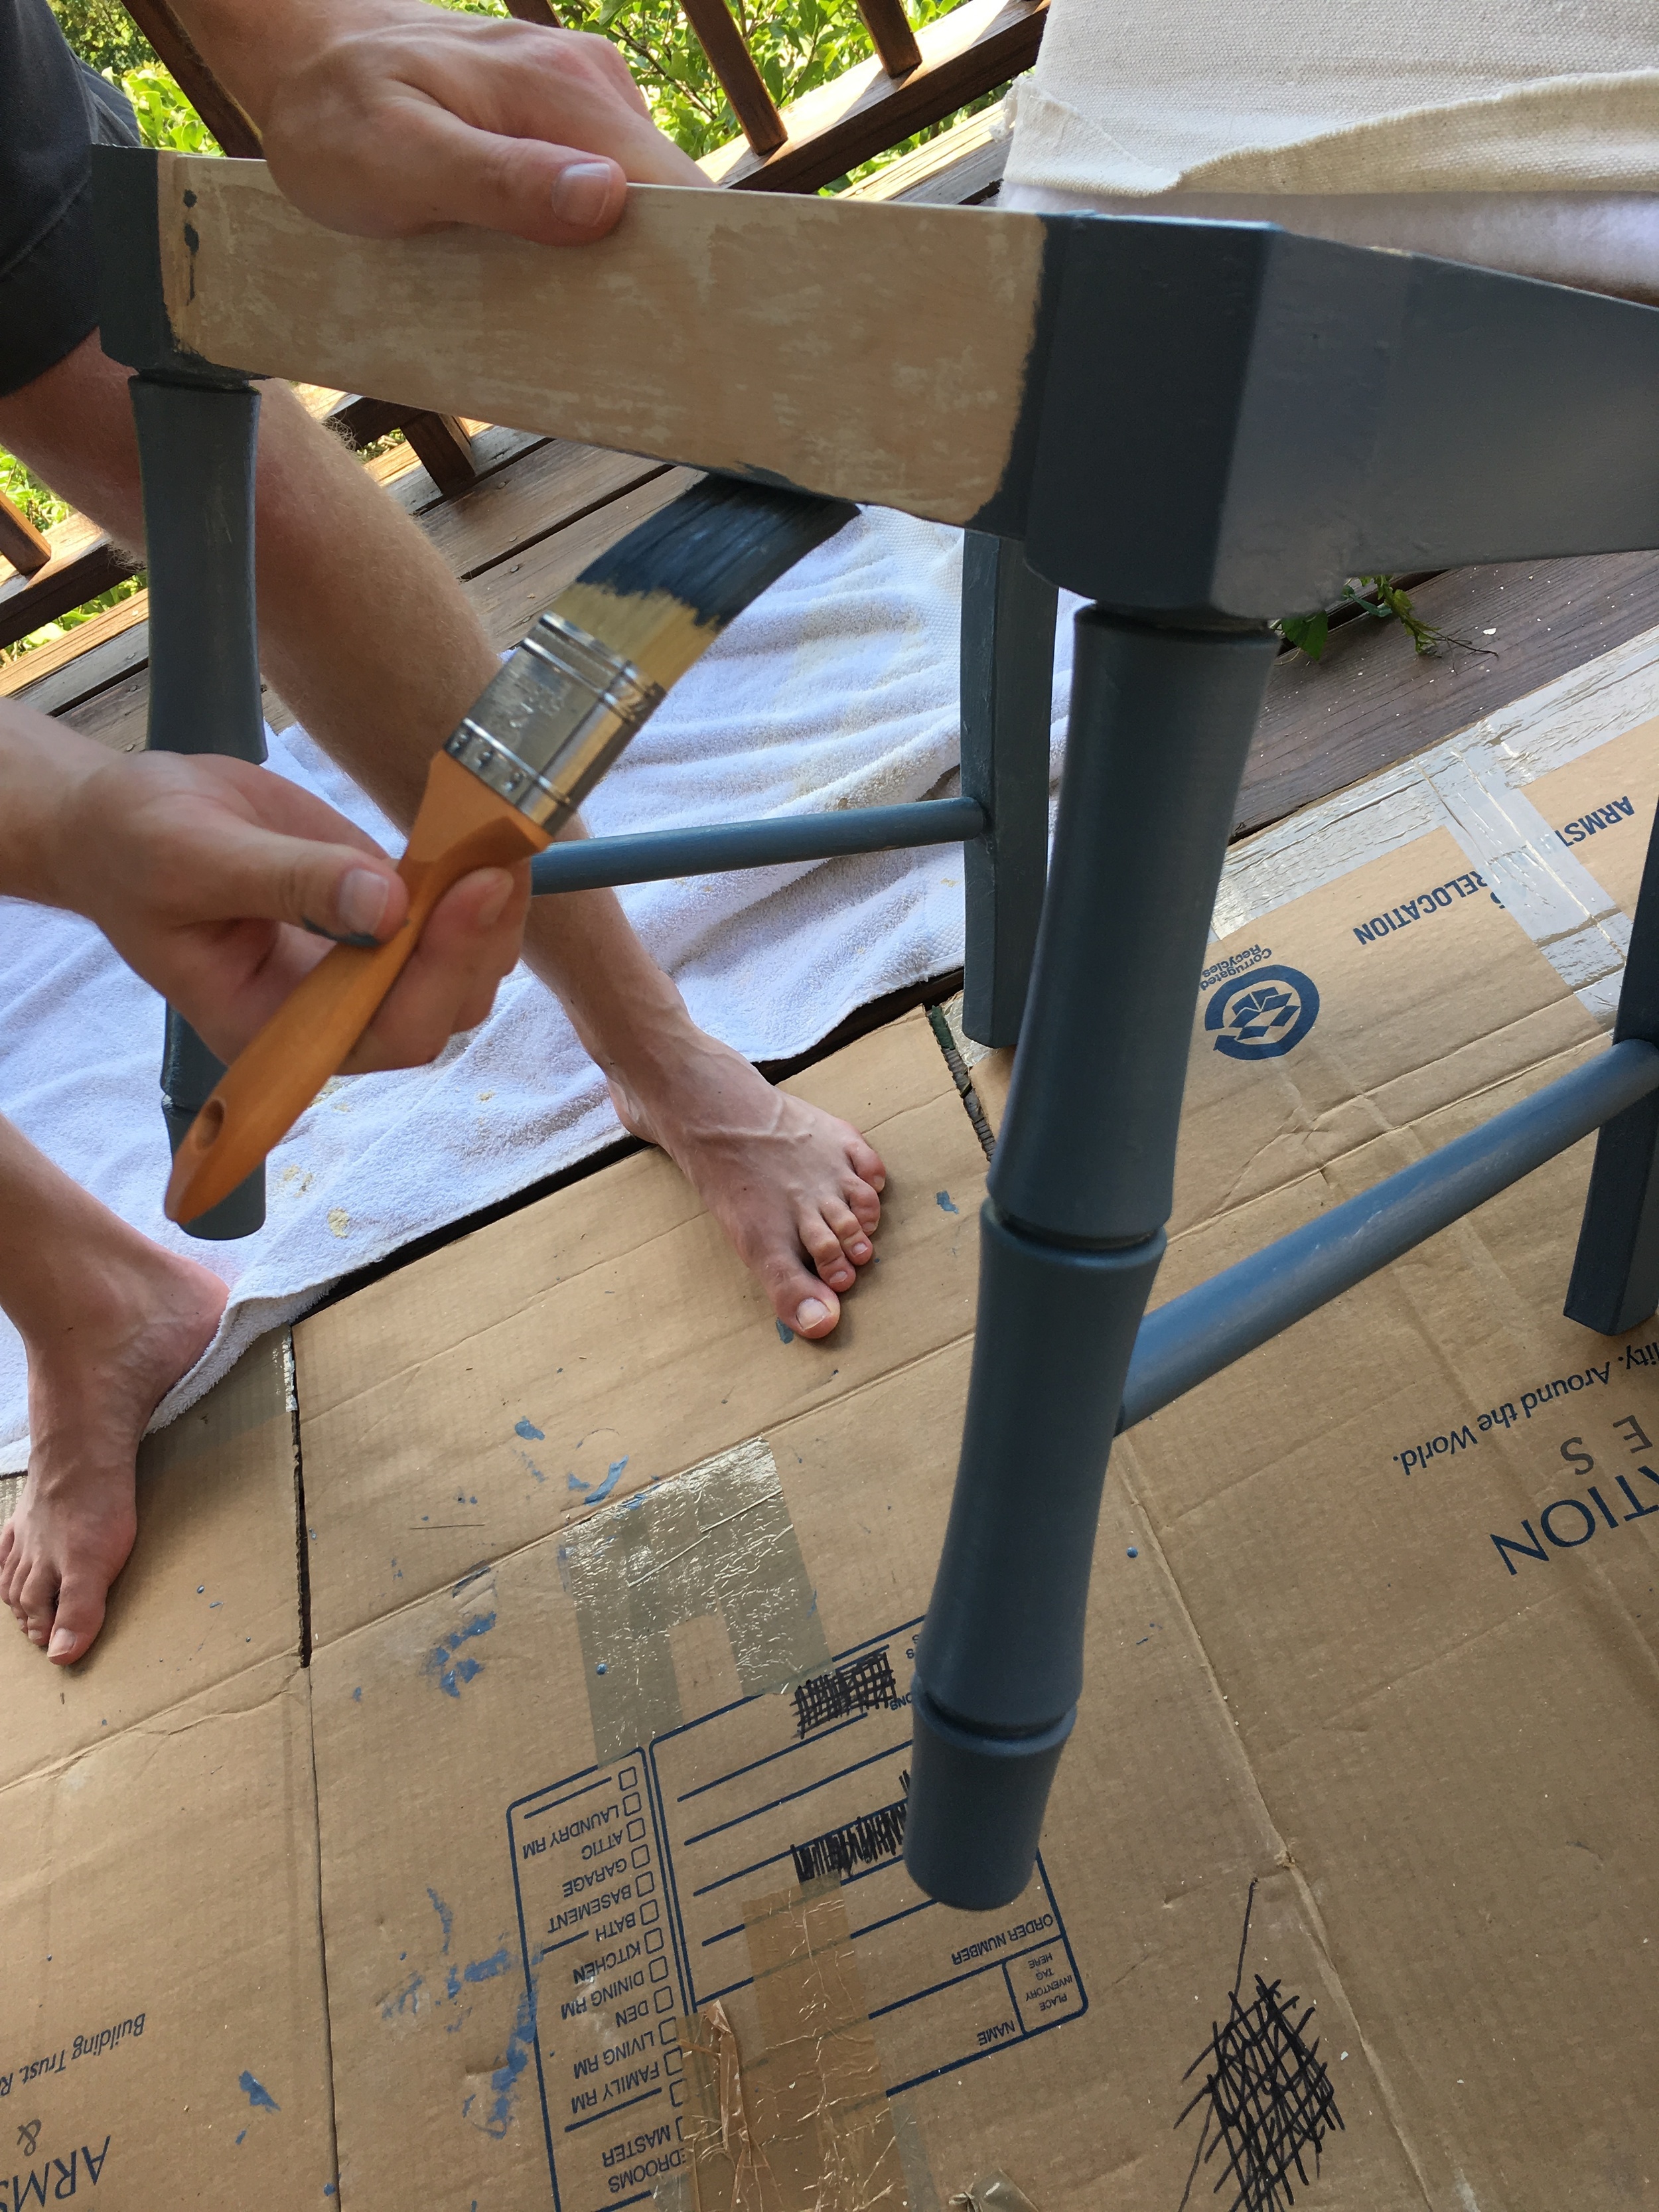
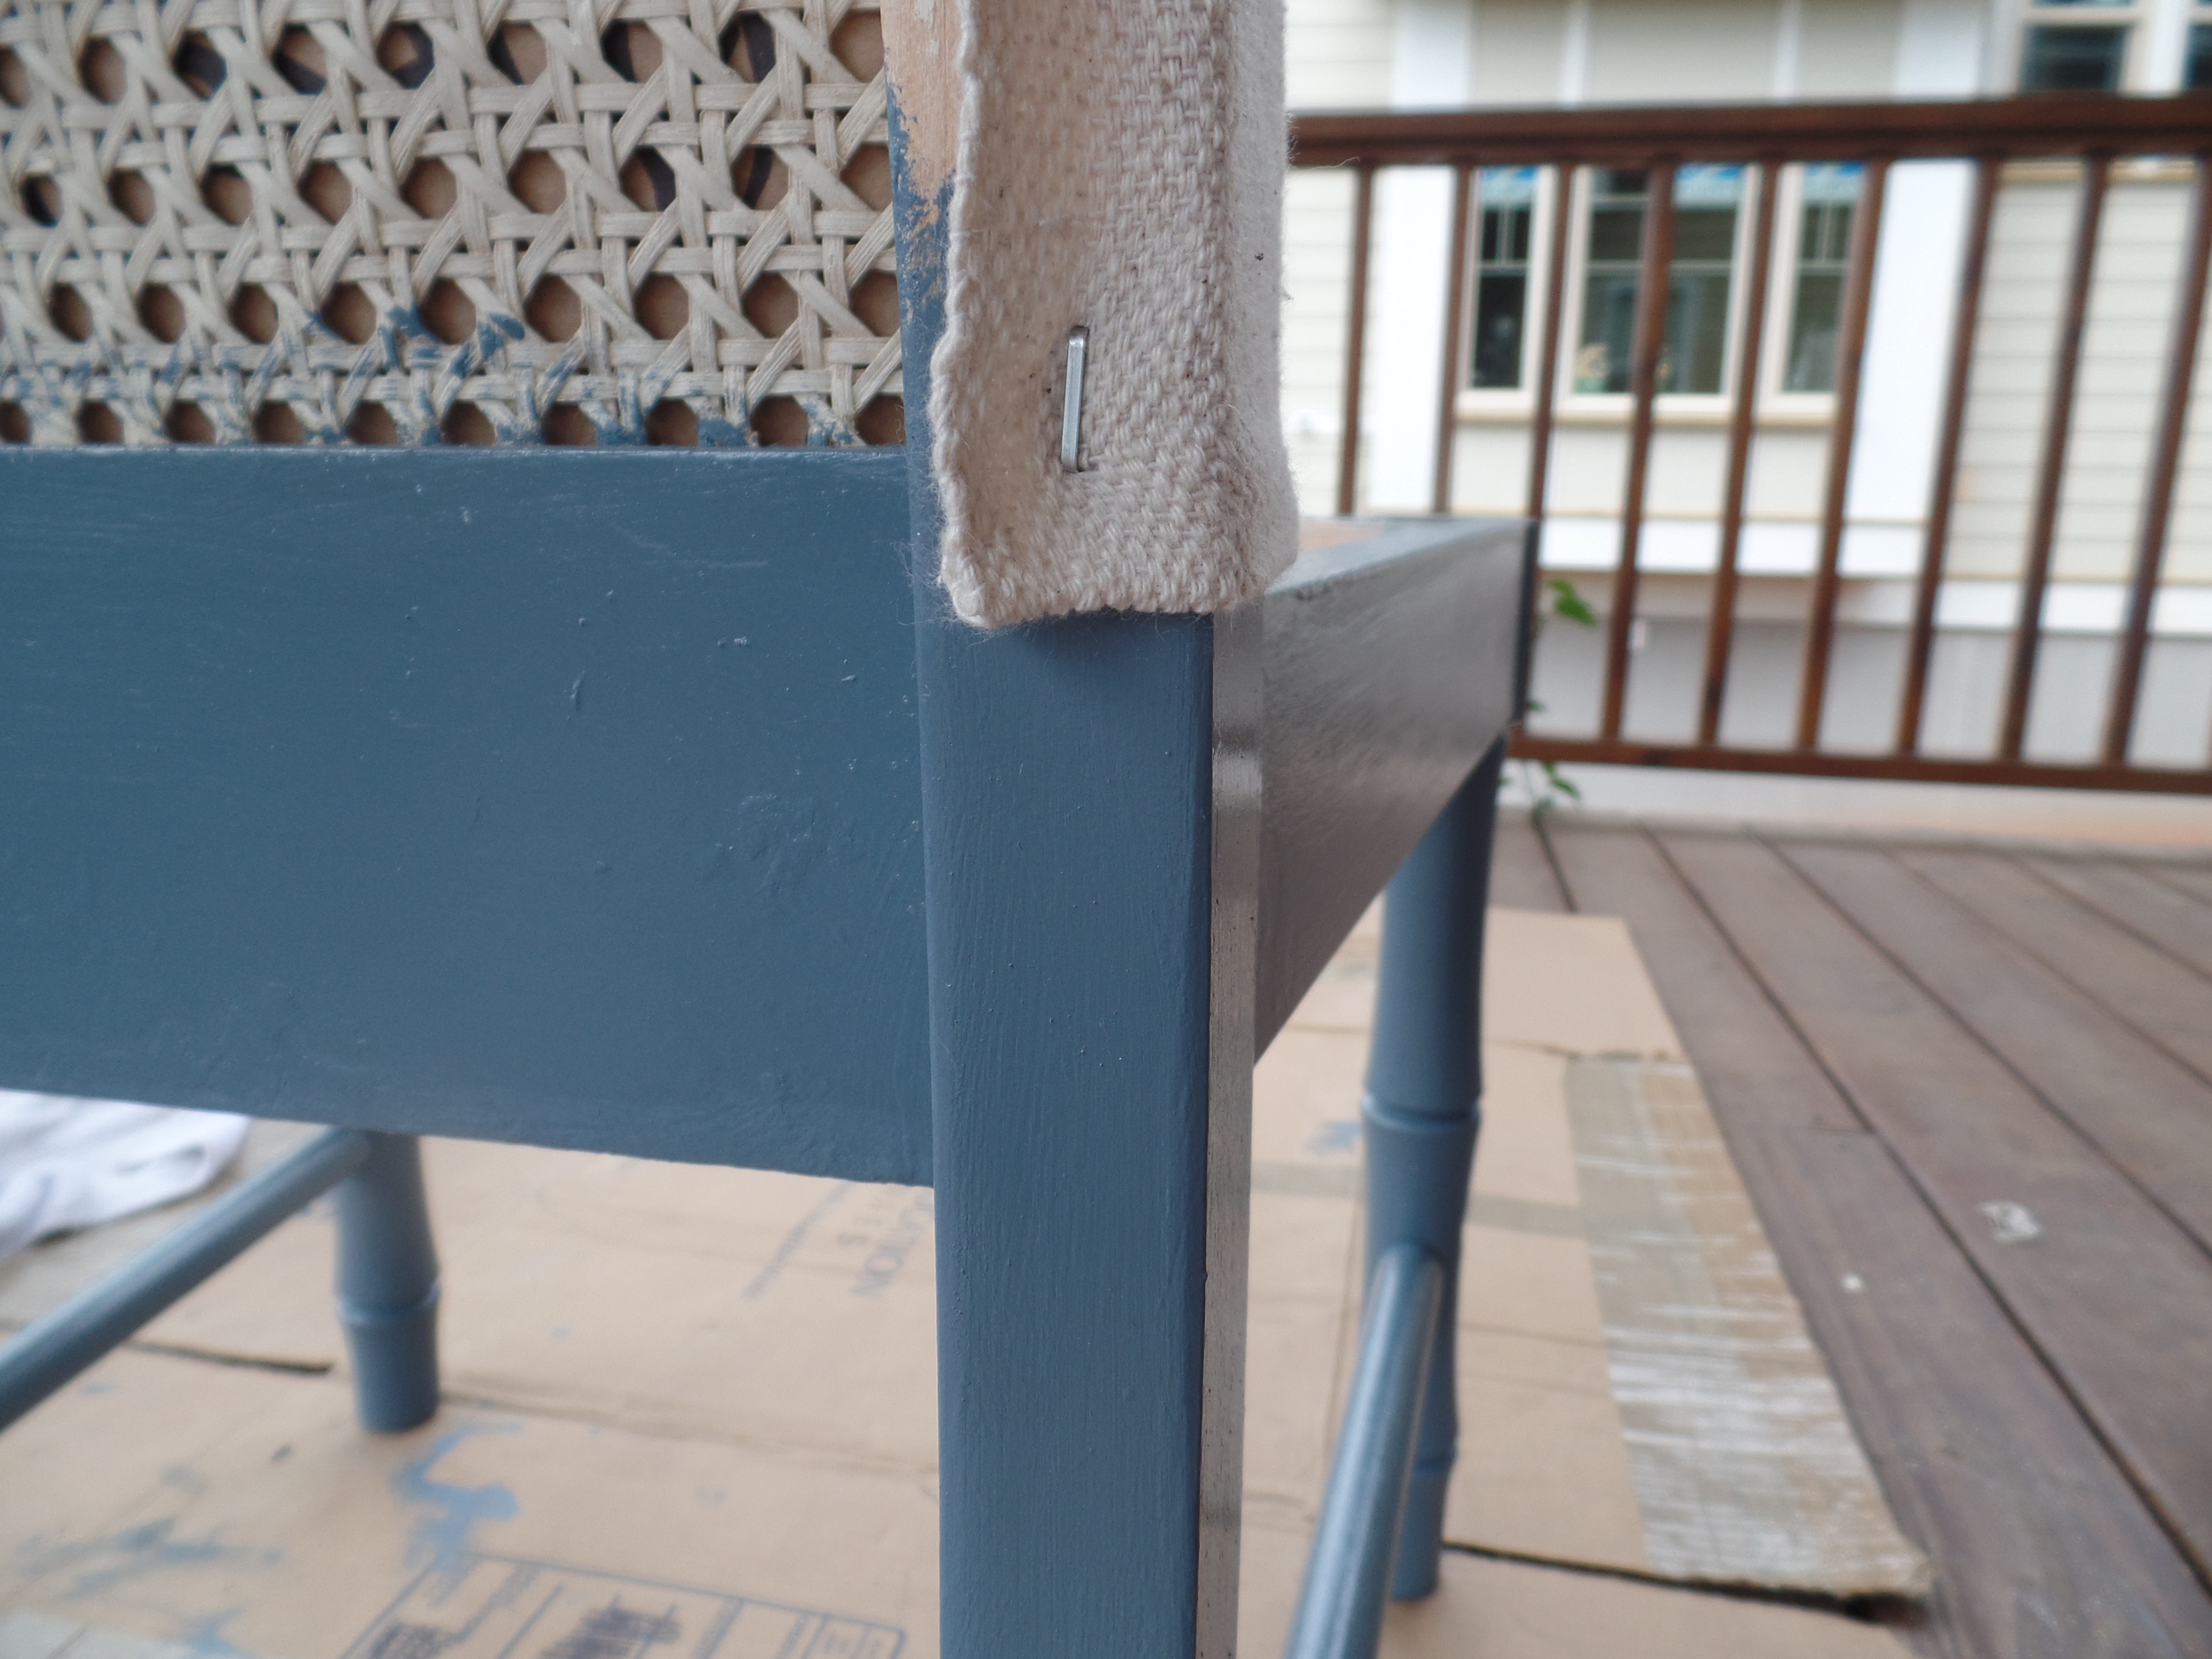
I don't have many pictures of Jordan finishing the chairs because he did the last bit of work while I was out of the house. (I'm just realizing that probably wasn't an accident.) All the hard work of stuffing the chairs, putting the nailheads in, etc. is lost to time. Here are the last ones I took of Jord:


Okay. So. Ready for the reveal? Here's how they started:

Sitting at the estate sale, waiting to come home with me.
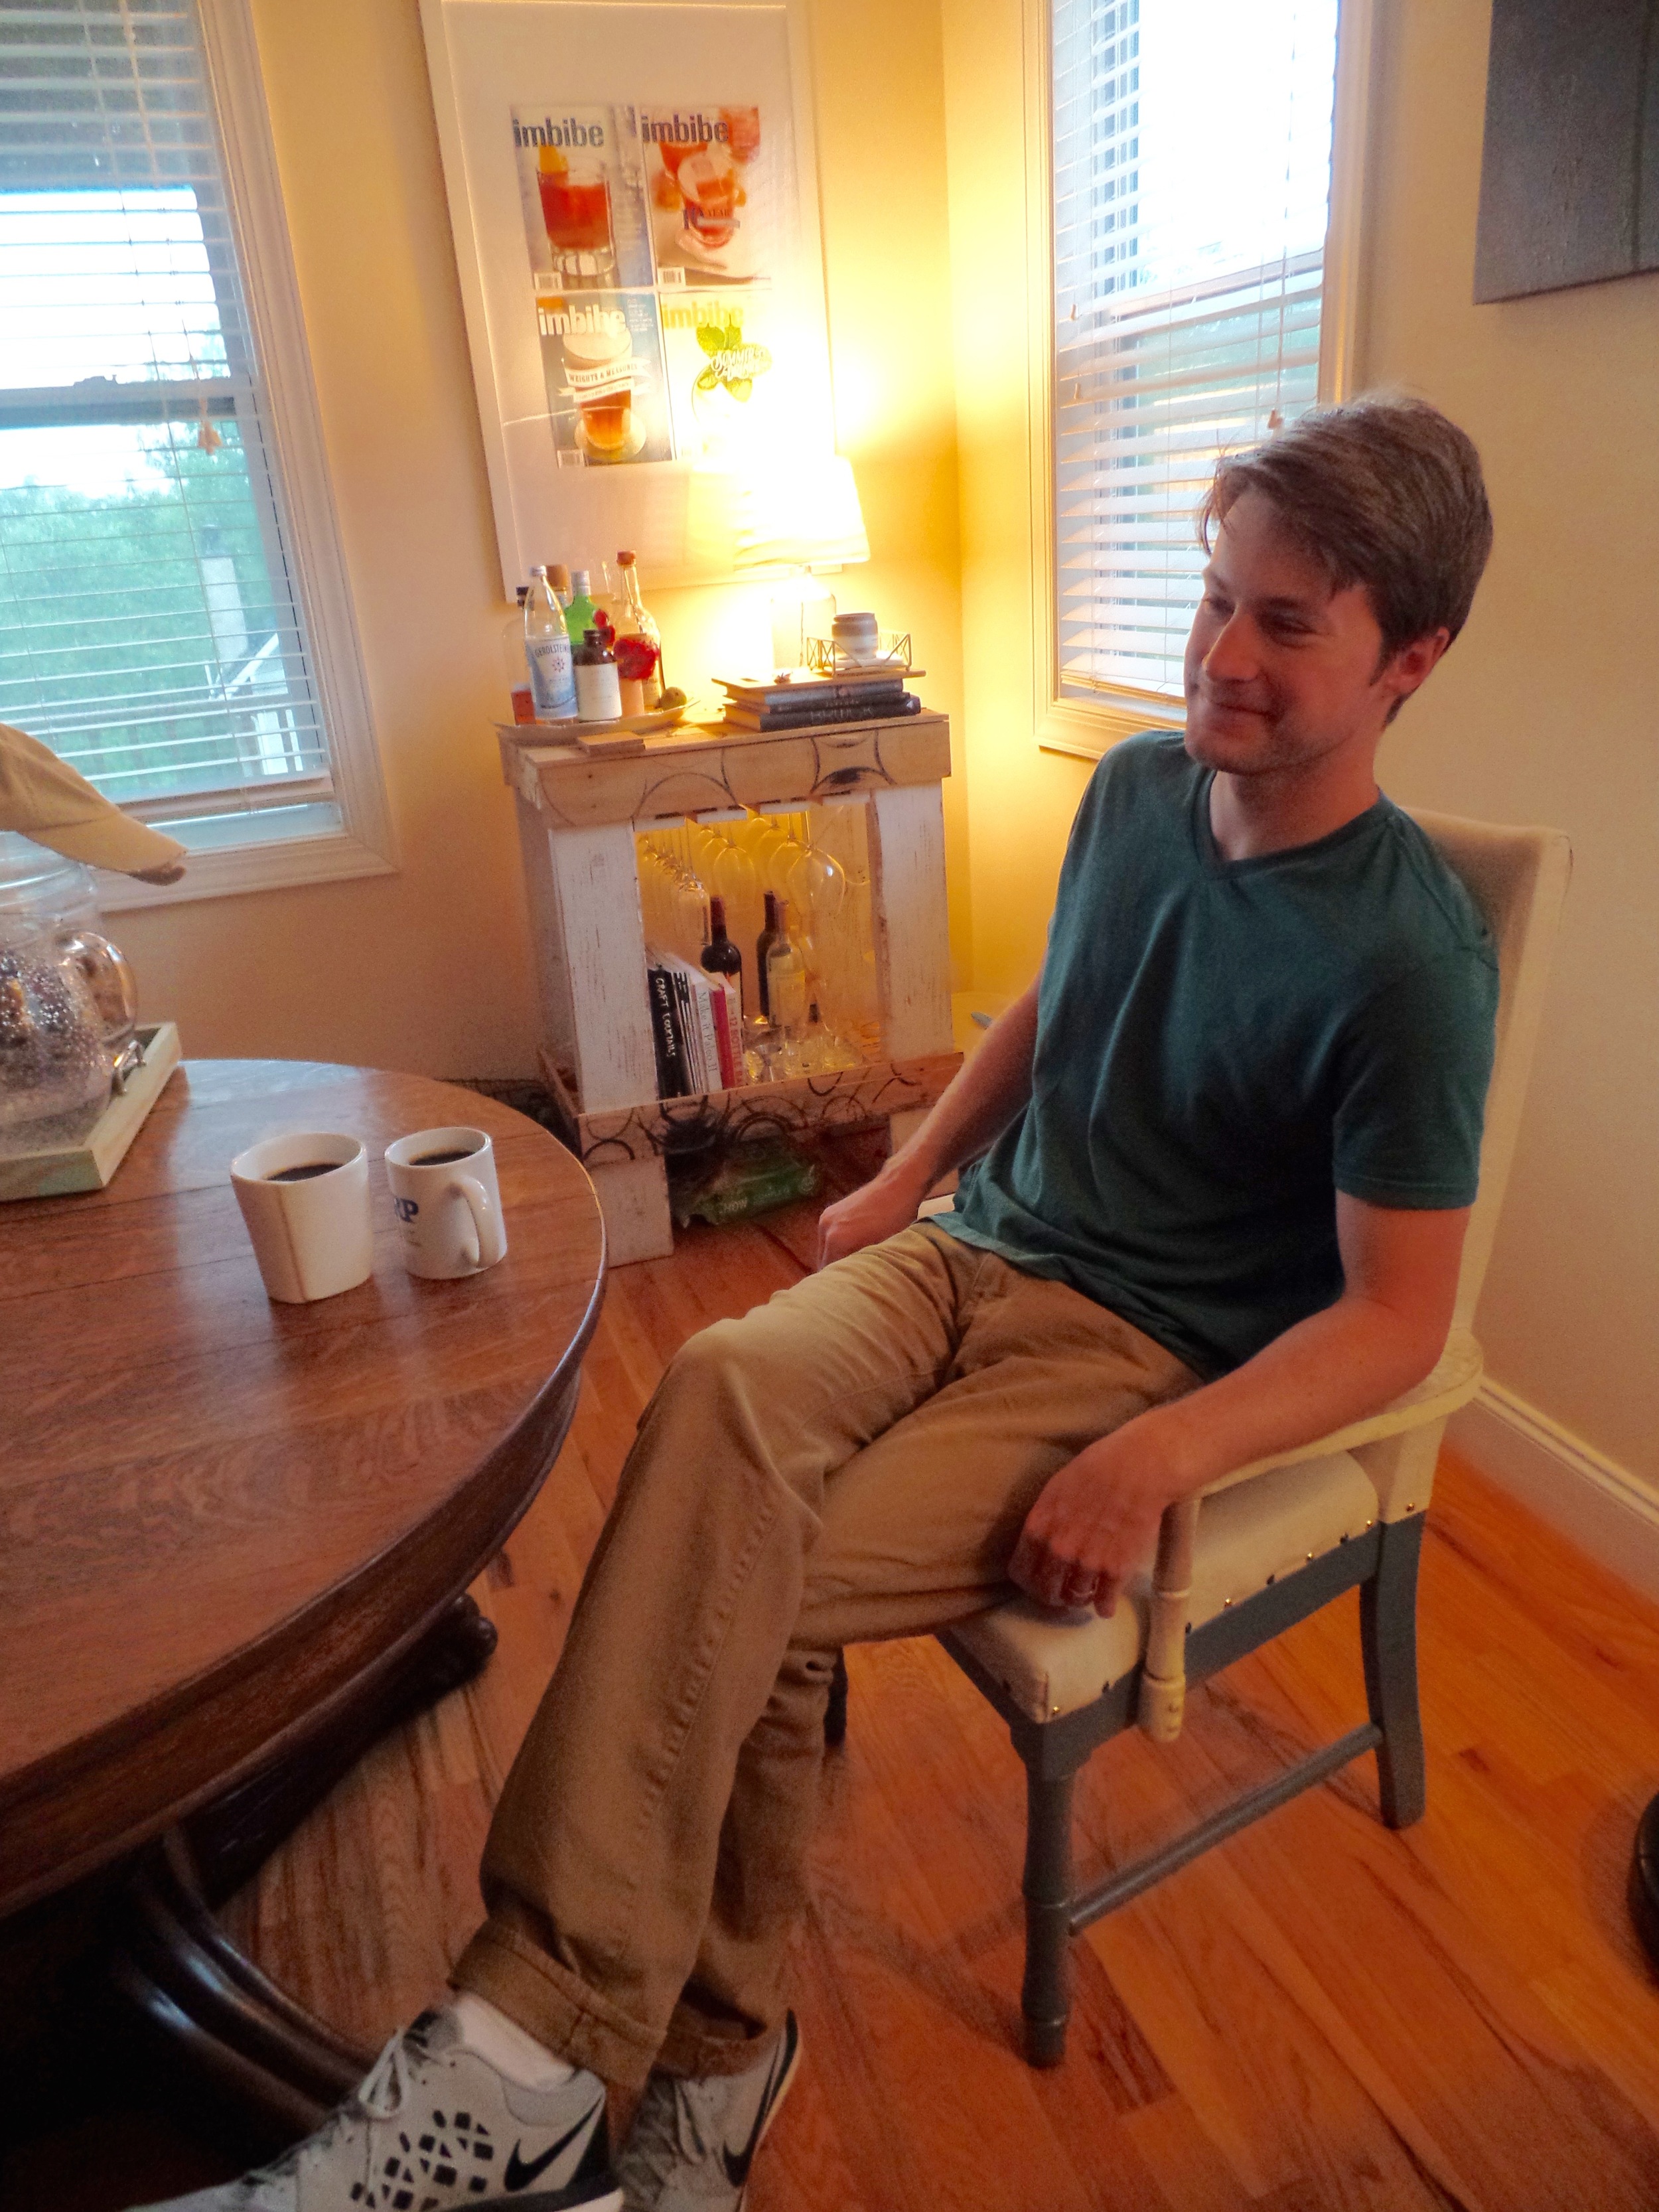
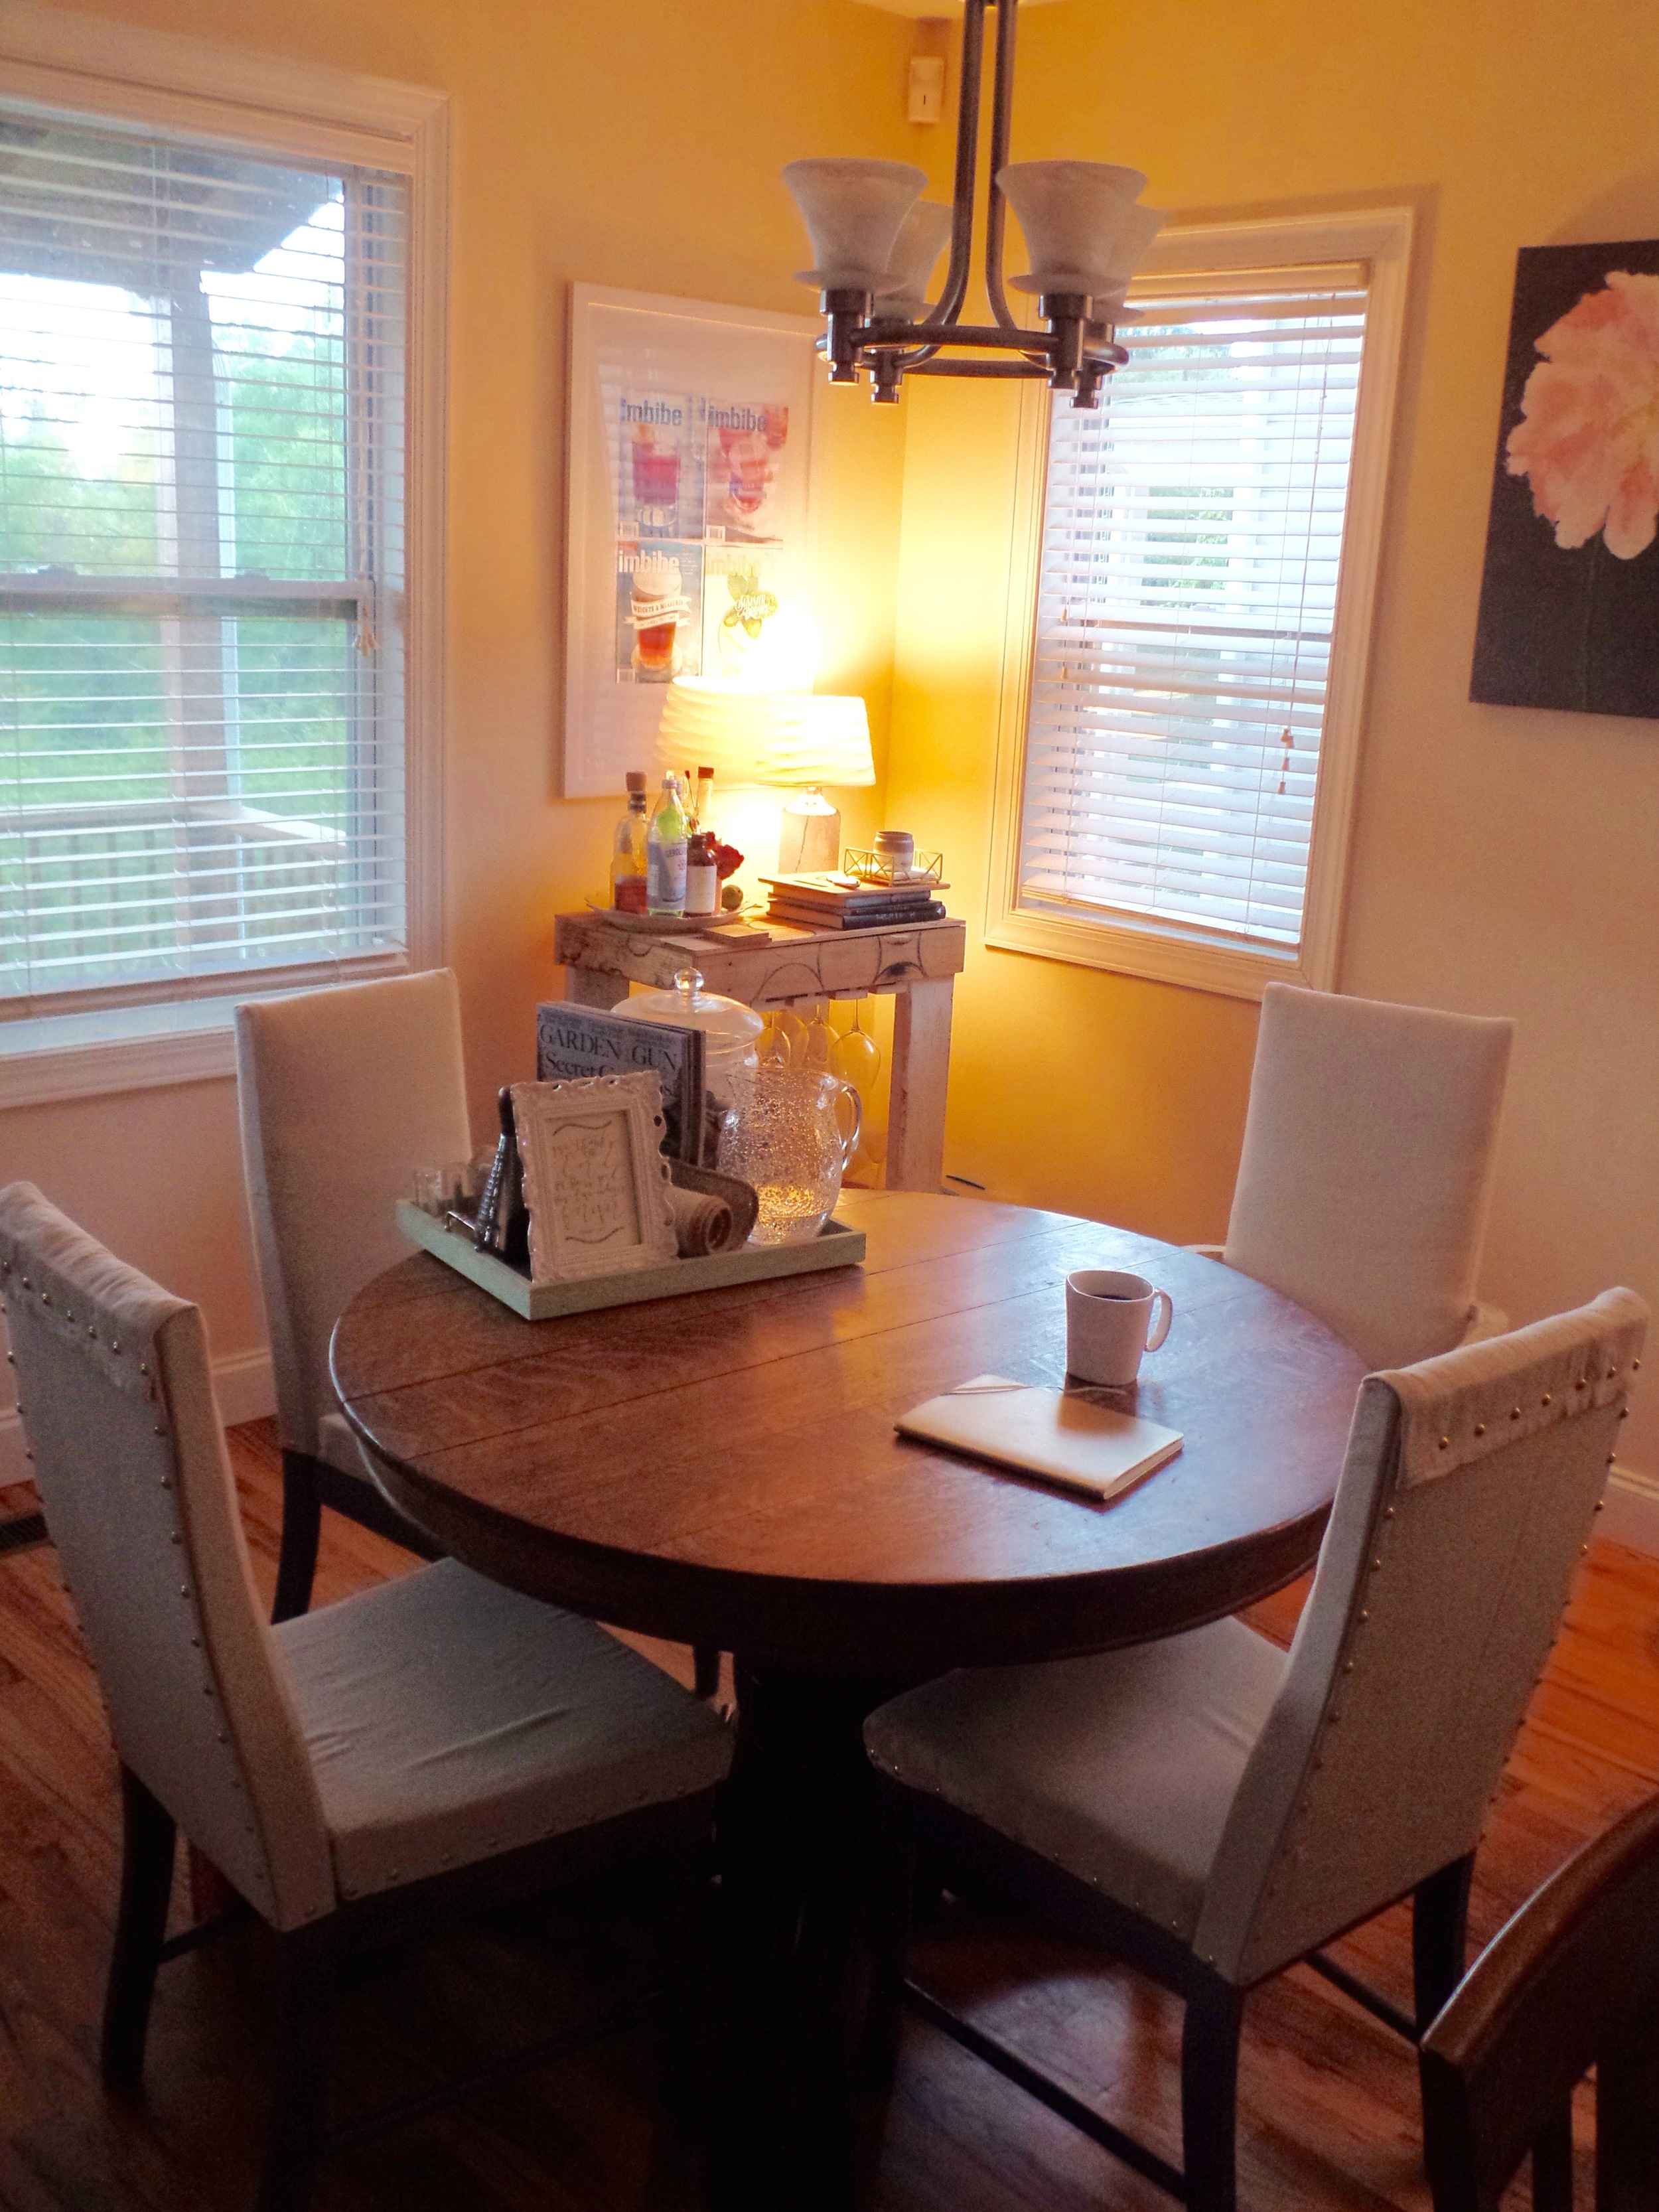
And here's that same chair now:
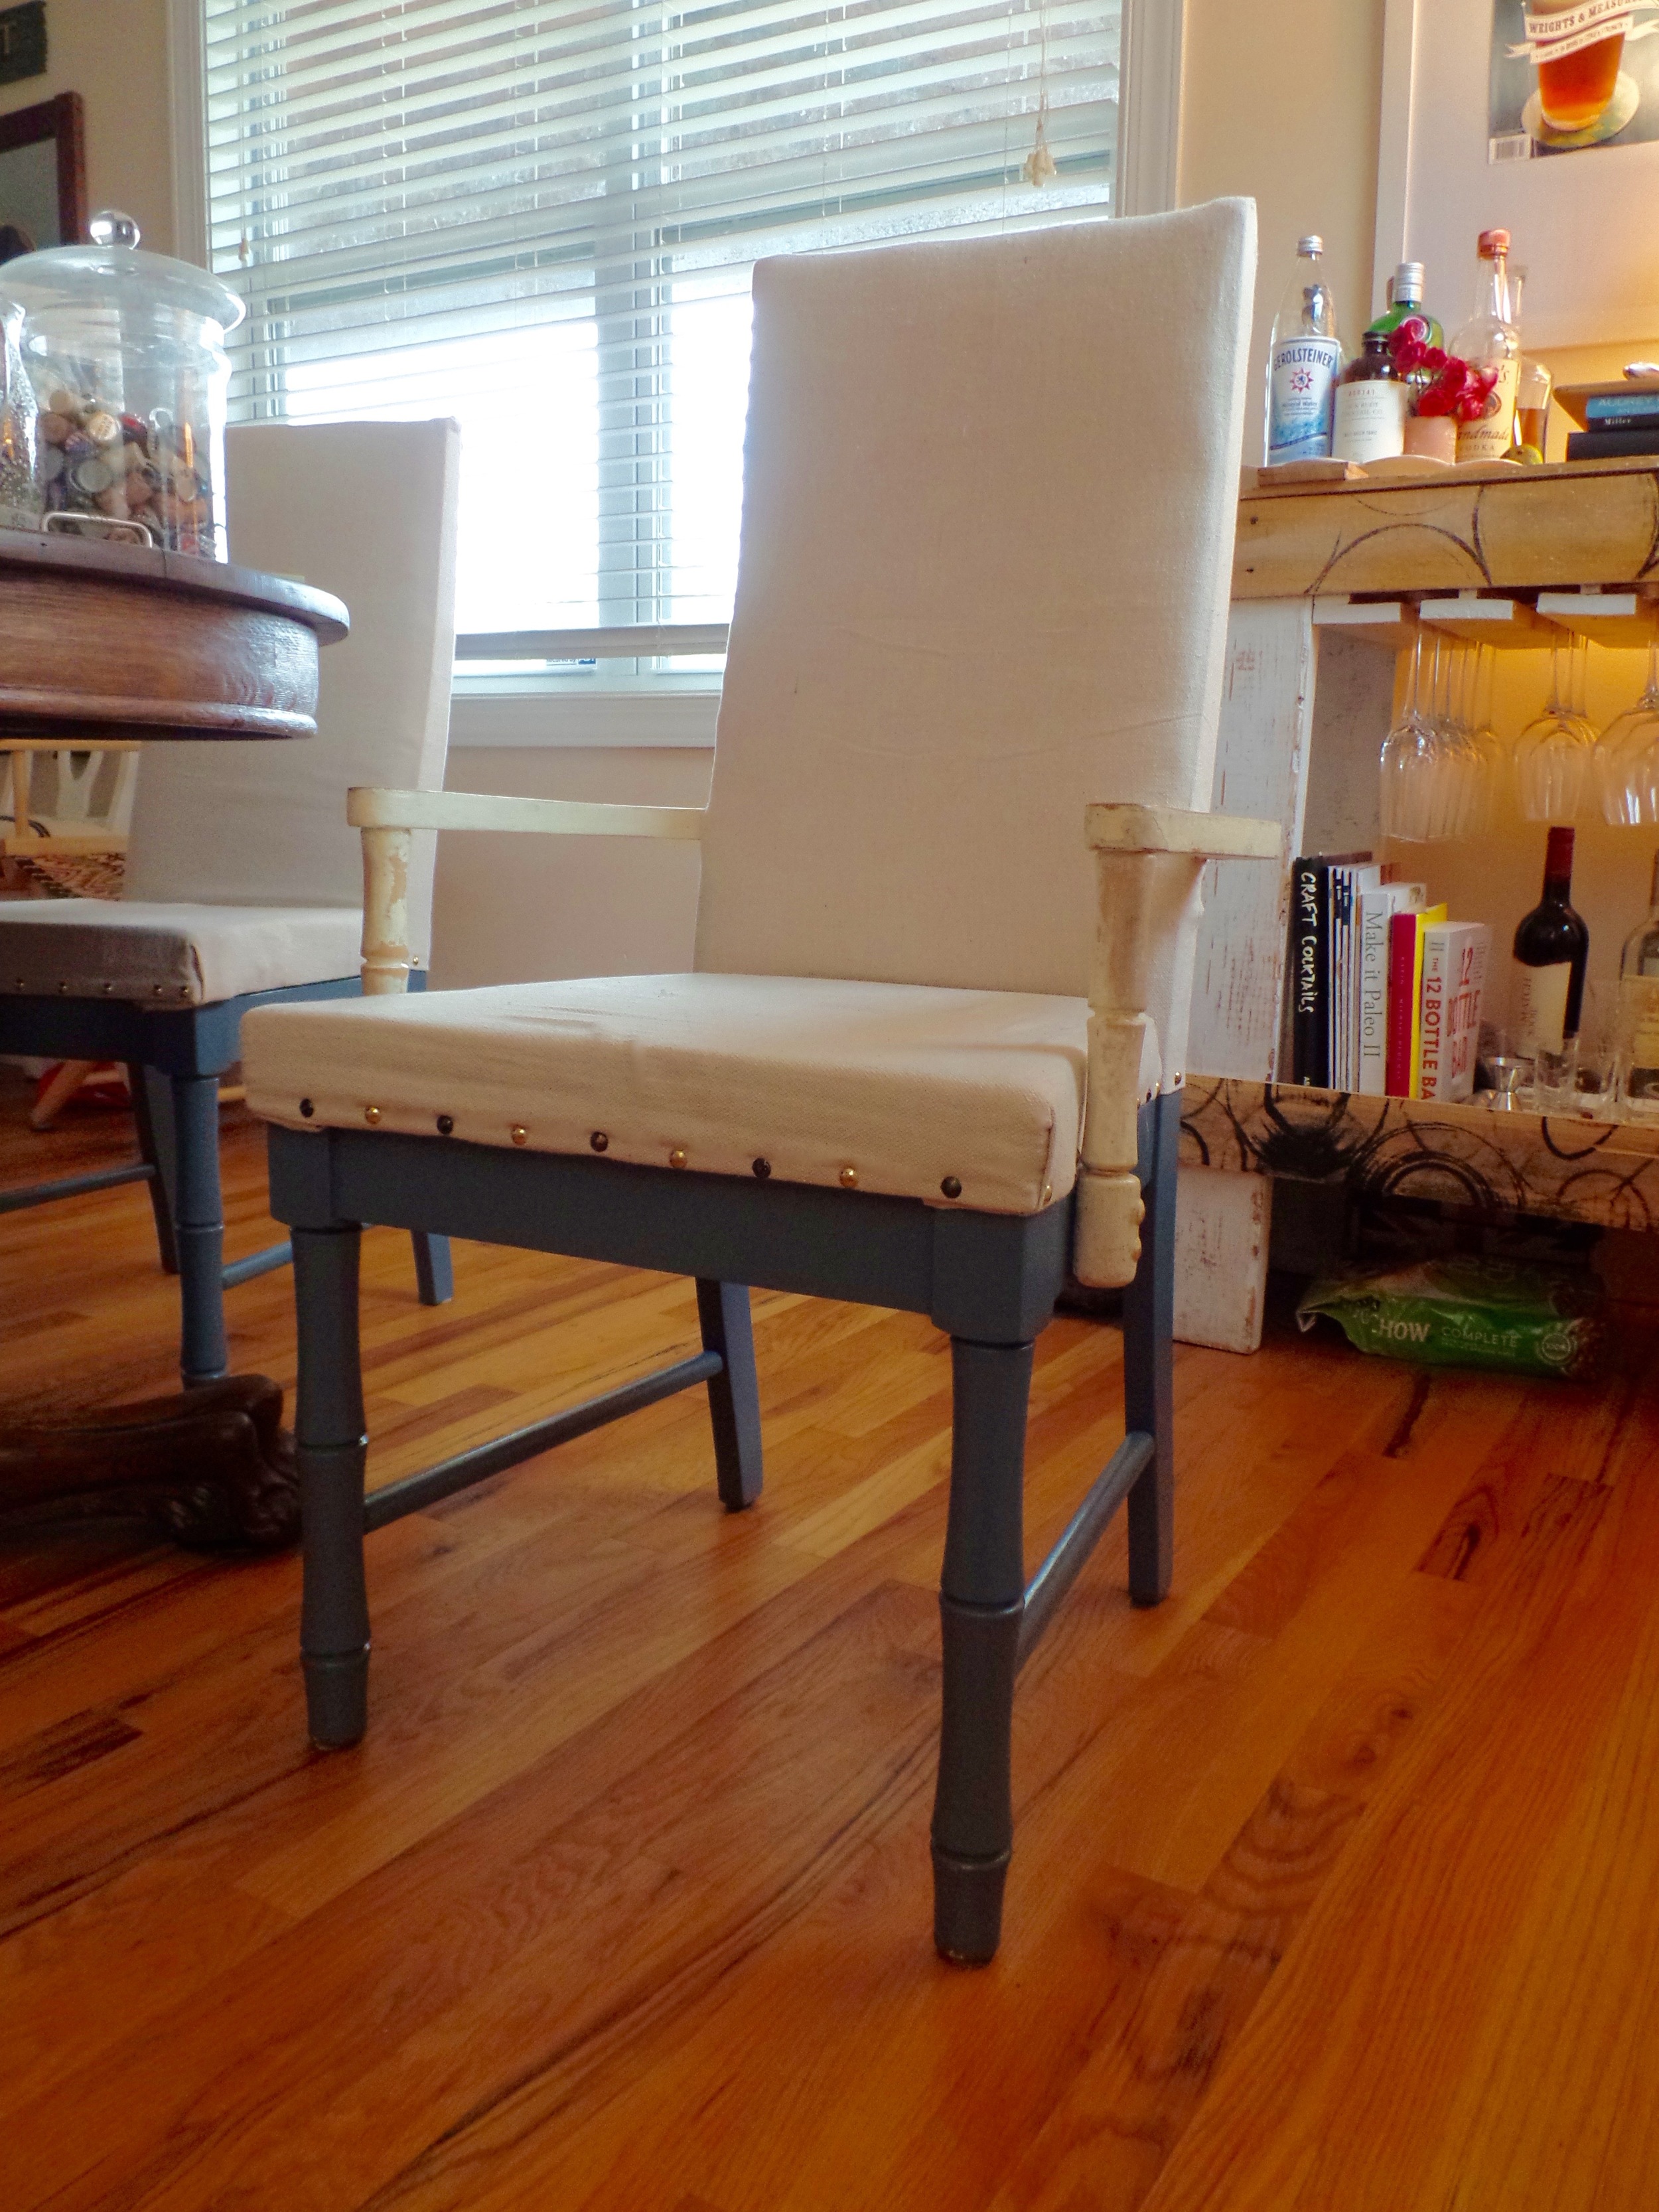
Jordan says, "They're not my best work, but they're pretty good."
I, on the other hand, and happy with them. For a DIY project, I'm proud!
Changes we made from our original plan:
- We had originally planned to paint the chairs grey, then gloss them over. We decided we wanted a more blue-based color and no shiny topcoat.
- Jordan decided to leave the arms of "his" chair white. He thought it looked cool. And it's his chair (his chairs, really), so we left it!
Some things I learned during this project:
- "Good enough" is not good enough. Go ahead and do a task fully, to perfection, even it it takes longer.
- Doing something from a tutorial you found online is sometimes a recipe for disaster.
- Having a husband who's good at things is a life-saver.
Hooray for this project being OVER, but truly, I'm really happy with the results. This also inspired me to re-design our bar and make a collage of magazine covers to hang over it. I love our little corner of the house, thanks to these spruced up (actually matching) chairs and a little elbow grease.