Pin Curls that Last for 5 Days

Hey, friends!

So one of the big resolutions I made to myself when I started this blog a few years ago was that I didn’t want to be a fashion/beauty/lifestyle blogger. Today, I’m breaking that promise to bring you something that I believe is pretty freakin’ worthwhile: the 5-day hairstyle.  

You heard right: style once, wear for 5 days. Don’t believe me? Check it out. 

This little trick has helped me enormously since I had a baby, though I figured it out long before Mac was born. I was always a person who said, “My hair won’t hold curl.” It turns out that’s a bunch of hooey. ANYONE’S hair can hold curl - even the most limp, flat, fine, straight hair. Trust.  

So this process is called “pin curling,” and it’s a really old technique. The science behind it is that if you allow your hair to cool while it’s still in the shape of a curl, it retains the shape for a lot longer. Think about it: if you curl your hair with a curling iron, then immediately let it drop back down as it cools, the curl will be a lot looser because it’s cooling in a more open, wider shape, instead of in a tightly-wound curl.  

It’s a little bit of work on the front end, but it takes no more than twenty minutes. And when you’re through, you have 5-day hair - 20 minutes for 5 days? Worth it.  

You’ll need: 

- Clean hair
- Duck clips (the long, silver clips you see at the salon) 
- A 1’’ curling iron (if yours is a little larger or smaller, that’s fine - we’ll get to how you can make that work) 
- L'Oreal TXT It Tousle Wave Spray (optional, but great)
- 20 minutes

Step One:  

Wash, dry, and blow your hair out. A “blowout” doesn’t need to be salon-quality - it just needs to straighten your hair and get it completely dry. I divide my hair into two sections with a large clip, dry the bottom half with a paddle brush, then dry the top half with a round brush, pulling the brush up and through my hair as I dry it to give it some volume around the crown. Whatever method works for you is fine - just needs to get the job done.  

Step Two:  

Grab a two-inch section of hair and use your curling iron to curl it under, all the way toward your scalp. The direction you curl it is up to you - if you want to have a salon blowout look, curl it under. If you’re going for more of a Victoria’s Secret wave, curl the hair around the closed barrel of your curling iron. That’ll make more sense in the video below. 

Step Three:  

Release the hair from the curling iron. Then, using two fingers on your non-dominant hand, curl the section of hair around your fingers back up in the same direction as before, and secure it with a duck clip. Make sure the curve of the clip is facing toward your scalp, not away. If it sounds confusing, use the video tutorial below as a guide. 

Step Four:  

Repeat the process until your whole head is covered in pins.

Step Five:  

Give your hair some time to set. Do some housework, make some phone calls, or if you’re doing it in the morning before work, make this the first step in your routine. Do your makeup and have your coffee while your hair cools!  

Step Six:  

Take your hair down and comb through it with a wide-toothed comb. Don’t worry - this step isn’t going to destroy your curls. It’s just going to calm them down. Make sure you complete this step with at least ten minutes before you need to be anywhere so that your hair has time to settle and you don’t look like you shoved your finger in a light socket, like so:

IMAGE.JPG
IMAGE.JPG
IMAGE.JPG

To maintain your curls all week long:  

Before bed each night, wrap your hair into a twisted bun and secure it with a rubber band. I usually loop one loop all the way around the hair, and take the other loop halfway over the bun to make sure it stays in place all night (watch the video below for a detailed walk-through).

In the morning, take your hair down and you’ll discover that you’ve still got an “out in public” ready head of hair. Hooray!  

Just to show you that this works, I documented 5 days’ worth of hair for you. I curled it on a Thursday, and the last photo was taken on a Monday.  

Thursday:  

IMAGE.JPG

Friday (yes, I’m wearing the same shirt, I have a newborn, don’t judge me):  

IMAGE.JPG

Saturday (featuring my goofy husband):   

FullSizeRender.jpg

 Sunday: 

IMAGE.JPG

Monday (the messiest and yuckiest day):   

IMAGE.JPG

As they say in My Big Fat Greek Wedding: "So there you go!" 

I hope this has been helpful and will save you some time in the mornings that you could use snuggling your babies, sleeping in, or getting extra work done. 

Thus endeth my stint as a fashion blogger.  

*Bows*  

Pregnancy Product Recommendations

Happy Tuesday! 

OH MY GOSH DOUG JONES FREAKING WON THE SENATE, PEOPLE. HE WON. A DEMOCRAT. IN ALABAMA. IT'S A HUGE DEAL. HUGE. ENORMOUS. 

Mmkay.

Since I'm just sitting on "go" waiting for this baby to be born, I thought I'd record a short(ish) video recommending some products that have really worked for me this pregnancy. I got lots of helpful tips from girlfriends of mine, and some things I just trial-and-errored for myself. 

I've included links to all my recommendations in the text below the video, so if you know someone who's pregnant, click around! I can guarantee a big ol' hug if you were to gift your pregnant pal any of the following things. 

(In the future, it'd be great if someone could remind me not to shoot a video of my extremely pregnant face from a low angle. Holy double chins, y'all. W/e, I'm too pregnant to care!) 

Holiday Gifts for Neighbors and Colleagues!

HEY EVERYBODY, REMEMBER ME? 

Yeah, it's been a minute. I've just decided to give myself some grace about updating since I am exactly 9 days (at the most) from giving birth. Which is a sentence I can type and understand in theory but really is melting my brain into a puddle of Gak on the floor. 

(Nickelodeon Gak? Anyone? Anyone?) 

ANNNNNNNNYway, the point is, I have my entire house decorated for Christmas and my nursery done. My hospital bags are packed. I am completely ready to go, which means that for the next little while until this baby decides to make its debut, I need things to occupy myself. 

Enter: a project! 

I usually bake things for my neighbors at Christmas, but this year (with the help of my mom, as you'll see in a moment), I thought it would be fun to do more of a crafty gift. The idea of these cute lil' guys it that the recipient can dump out the contents of the jar into some water, simmer it on the stovetop, and make their house smell like Christmas! Once you've gathered all your ingredients, this is an incredibly easy and fun project that makes your OWN house smell delicious as you work on it. It's also really kid-friendly, so if you have young babies at home, they can easily help in assembling your jars. 

IMG_4307.JPG

You will need: 

  • An assistant who has graphic design experience and make your tags adorable, if you're 9 months pregnant, will go pick up all these ingredients for you and bring them to your house along with lunch. (Okay, you don't REALLY need that, but it sure does help!)
  • Halo or Cutie clementines 
  • Whole cranberries 
  • Christmas tree clippings
  • Mulling spices (available at World Market!) 
  • Mason jars 
  • Festive ribbon 
  • Cute gift tags 

Then just work from the bottom up! Start with your mulling spices, which is really the key to making this smell so dadgum fabulous: 

IMG_0419.jpg

Next, add a handful of cranberries: 

IMG_0420.jpg

One or two clementines, depending on the size of your jar: 

IMG_0421.jpg

And then fill the top with Christmas tree clippings: 

IMG_0422.jpg

Seal off the jar, tie some ribbon around the top, and add a cute message along with some instructions, to the tag. Voila! 

(Sorry about the extra text here - this was downloaded from my Instagram story because it was the only photo I had of the tags. Oops!) 

(Sorry about the extra text here - this was downloaded from my Instagram story because it was the only photo I had of the tags. Oops!) 

It's so colorful and fun AND functional - the best part about these jars is that, as the water boils/simmers out, the recipient can just add more water and leave the same ingredients in your pan. Get creative if you don't have mulling spice on hand - you can use cinnamon sticks, cloves, ground nutmeg - all scents of the season. 

Hope you enjoy! 

5 Things: Hosting Out-of-Town Guests

One of the things I love to do more than anything on this earth is host visitors in our house. I was always so concerned in the months before we made this move that we'd be largely alone in Asheville, but it turns out we get to see our friends and families more here than we did in Alabama, in some cases! 

Particularly in the fall, Asheville is covered up top-to-bottom with tourists who we call "leafers," in town to watch the Blue Ridge Mountains change from this 

mountains.png

to this: 

4FGp82m.jpg

(I know, right? Pretty spectacular). 

So I thought it'd be the perfect time of year to talk about little things I learned from my mom that I like to do when hosting guests, besides putting out fresh towels. 

1. Flowers! 

IMG_2639.JPG

Buying flowers can get expensive, so lots of times I source the blooms from my yard, or even just use the greenery. A little bit of "living thing" in a room totally changes the feel. I try to put two large arrangements in the den, kitchen, and guest bedroom, and small arrangements (usually in Mason jars) in each bathroom. 

As you can see in the background of this photo, the first weekend we moved up here, we had a big arrangement of wildflowers in our den. Also very funny to look back on this decorating from three years ago. We've come a long way, baby. 

2. Candy and snacks! 

This is another direct result of growing up in my mother's house, but we usually have bowls of treats (my signature is seasonal M&M's) all over the place. One in the kitchen, one in the guest room, and one on the table in front of the TV. 

I know. It's an issue. 

Really, it's less about candy specifically, and more about having something for people to easily reach for. I've found that if you ask your guests, "Are you guys feeling hungry?" the answer is always, "Not really!" because no one wants to put you out or make you work. 

But if you just MAKE the food and put it out ANYWAY, it always mysteriously gets eaten...funny how that works. ;) 

So just put it out! I always have a cheese board ready when people are coming in from out of town, just so folks can immediately have something to nibble on and don't feel like they're inconveniencing me. I also like to play a fun game with myself to see if I can remember people's favorites and buy them in advance - favorite beer, favorite kinds of cheese, favorite chips, etc. I may or may not have a running list in a drawer. Don't tell. 

Normally I cook a full breakfast (eggs, bacon, yogurt, granola, berries, OJ, etc.), but this is a perfect quick option: Sister Schubert cinnamon rolls served with fruit and carried out onto the front porch to enjoy the fall temps. 

Normally I cook a full breakfast (eggs, bacon, yogurt, granola, berries, OJ, etc.), but this is a perfect quick option: Sister Schubert cinnamon rolls served with fruit and carried out onto the front porch to enjoy the fall temps. 

3. Bedside water and coffee. 

Another "my mom" touch. We bought these glass bottles for about $5 each Michael's a few years ago and they have paid for themselves about 1,000 times over with how many times we've put them to use. 

When we have company, each guest has a glass bottle filled with water and fresh, clean glasses on their nightstand. If I'm REALLY doing a good job, I make sure to go up and re-fill the water bottles at some point during each day. 

We also happened to have an extra Keurig, because Jordan's sweet parents got us a Ninja coffeemaker for Christmas two years ago. So we moved our old Keurig to the guest room, stocked a glass canister with pods of coffee and tea, and I always stick an extra mug or two up there in case our guests are super-early risers (as in, before 6 AM) and want to have a cup of coffee without waking the whole house up. 

4. Have a plan.

No photo to go along with this one, and this may be showing my cards too much, but when guests are coming for a weekend, I like to sit down with a legal pad and map out the trip. It's helpful for my type-A brain to go ahead and plan what we're going to do, because there is SO MUCH in Asheville and often we only get one full day with our guests, as Friday and Sunday are travel days. 

One of the most important things I've found is to also include rest time in the "plan." The perfect weekend tends to balance activities and downtime. As much of an extrovert as I am, I also really need time to be quiet and re-charge - so if I'M feeling tired or overexerted socially, I know my friends are. Laying around on the couch and drinking makes for some of the best memories anyway, don'tcha think? 

Like so. 

Like so. 

Okay, so I only made it to four things. Sue me. Hopefully that inspires some ideas and makes you want to call your friend to invite them over! These little touches really are so fun to do and are all about thanking people for driving to see us. So - how comfortable can you make your guests? 

Happy hosting! 

Magnetic Eyelashes: A Review

"You have to put magnets inside your eyelids?!" 

This is the #1 question I've gotten when mentioning these to people. 

No, folks. I do not and would not stick magnets in my eyelids. 

But these are kind of just as magical. 

A little backstory...

When I went to the doctor a few weeks ago, we talked about how, immediately after having the baby, you kinda feel/look like garbage for a little while. The baby's out in the world, but you're still carrying around a little extra weight, not sleeping, and generally adjusting to a brand new chapter of life. 

"Hmmm," thought I, "let's do something in the way of self-care to combat the post-baby scaries! What about eyelash extensions?" 

So I did a little research and LOLOLOLOL they are insanely expensive. The salon here in Asheville charges $250 for the first application and over $100 for every refill. But, TBH, the money wasn't the ultimate deterrent -  the time was. The first application takes four solid hours of sitting in a chair. 

If you're blonde, or someone who gets their hair colored regularly, you know that we already spend 3 1/2 hours in a chair every six weeks. That's enough to make me go crazy all by itself. I couldn't do another cosmetic and unnecessary thing that took that long.   

SO, I began researching other options and came across something that seemed too good to be true: magnetic lashes. 

After looking into various brands, I settled on One Two Lash. They cost $70 and arrived within a week. I was SO EXCITED to try them on. One Two Lash offers three different varieties, but, as a non-false-eyelash wearer, I went with "natural." Felt like that was the safest choice. 

My first impression was that I was really impressed with the packaging. The case the lashes come in is super attractive and very well-made, which is great, because if you take care of these suckers, they can last you a really long time. In fact, there are two sets of them: upper and lower on the left, and upper and lower on the right...x2. 

original-insert-web.jpg

As you can see in that photo, each lash strip has a teeny tiny rectangular magnet. The science is basically that you place the "top" lashes so that they rest on your natural top set of lashes. Then, when you have it positioned, you literally click the corresponding "bottom" set underneath your top lashes, and voila! Instant lashes. 

No glue, no muss, no fuss. 

Rather than subject you to me attempting to be a beauty blogger, I'm going to link someone else whose job it is to do this to show you how they work: 

(Small aside - this is not a sponsored post. This is just a product I like that I want to share with y'all.) 

So. What do they look like on a non-beauty blogger? 

It took me a while to really feel like I got the hang of exactly where they needed to be positioned on my real eyelashes. The pictures below are the first night that I actually got ready/put on a full face of makeup to go out somewhere, and I think I positioned the magnetic lashes too far toward the outside of my own lashes. They look a little "16-year-old at prom" in these photos: 

(PS - you're welcome in advance for the close-ups of what I'm now realizing is my SEVERELY deviated septum. It's no wonder I can't breathe, I mean DAMN!) 

Having not worn false eyelashes before, I was really self-conscious about them, but the group of girls I was with told me that they didn't even notice and wouldn't have guessed they were fake unless I'd mentioned it! And when I got home that night, I popped them off in less than 5 seconds, put them back in their case, and went about my normal nightly skincare routine. They added almost no time to the process of getting ready for bed. 

So I played with them over the next few days and I think I got better at applying them. My process is: 

1. Curl lashes as I normally would. 
2. Apply eyeliner and mascara (or just mascara, as in the photo below) to top lashes.
3. Apply a very light layer of bottom-lash mascara (this was actually Jordan's suggestion to keep the One Two lashes from looking too "fake-y," - his words). 
4. Snap on the One Two lashes, one eye at a time, adjusting as necessary. 

Over the last week, I think I got better at positioning them: 

For context, I'm not wearing any eyeliner in this photo - just mascara and the new lashes.

For context, I'm not wearing any eyeliner in this photo - just mascara and the new lashes.

SO, overall, here's my review: 

Pros: 

  • Even if you aren't a beauty guru, these are not complicated to get the hang of. It certainly took me several tries to get it right, but ANYTHING that's new in beauty takes a few tries to get right. 
  • There is no glue involved. Zero. It's snap, snap, go. 
  • These are considerably less expensive than eyelash extensions, and, if well cared for, longer lasting. More bang for your buck and ultimately the same result. 
  • The case is beautiful and will encourage you to take care of the product. 
  • Removing them is extremely simple. 
  • They stay locked in place for as long as you're wearing them. 
  • Eyelashes for days! 

Cons: 

  • The red dot that denotes the "bottom" set of lashes rubs off very quickly. It was gone within a few application attempts, so it's important to make sure you place them back in the case in the correct section. 
  • They do feel a tiny bit heavy at first, but I think that's probably true with anything fake that you're sticking to your eyes. After a few minutes, I forgot they were there. 

Tips: 

  • As I said, it takes practice. Play with where you put them on your lash line - what looks most natural? Should you scoot them a little further in? Toward the corners? You'll know when you hit the sweet spot. 
  • Don't put any more mascara on after you've applied your lashes. They're plenty on their own, and more makeup is going to damage the product. 
  • In fact, let your lashes be the last thing you put on. Are you applying loose powder? Do that, THEN apply those bad boys. 
  • Never sleep in them or wash your face with them on. It's easy to forget they're there, so I keep my case out on the bathroom counter to remind me to take them off before I start slapping water on my face. 

What do you think?? Is this crazy? At the end of the day, I highly recommend them to anyone who's considering eyelash extensions, but doesn't want to shell out the cash or the time in the chair. These are an amazing alternative, reasonably priced, and achieve the same result. I love mine and am actually excited to go put them on in just a few minutes! Yahoo! 

Chicago by Air, Land, and Sea! And HAMILTON!

Okay y'all. Chicago is amazing. 

My amazing friend and across-the-street neighbor, Cindi, used to live in Chicago - still does part-time! - and works there, which gave us a great excuse for a little girl's getaway. 

One thing I just didn't realize about myself (and I'd wager most wives, and CERTAINLY most women who are wives and mommies have this in common with me) is that I spend a lot of time worrying about/taking care of the goings on of our household. Of course, this is completely fine with me - the arrangement in my marriage is that one of us works and one of us stays home. It's not a gender thing, it's a "the way we've worked it out" thing, so lots of this is just my jurisdiction. But the point is, lots of my mental energy is spent on worrying about whether the laundry is done and ironed; the groceries are bought and put away; the dog hair is off the floor; etc. 

I didn't worry about any of that FOR A WHOLE WEEK. Oh my gosh. Goodbye brain. I don't even think I HAD a brain. It left my body and went on a cruise. 

So here were all the things, pictures included, that scored my incredible week in Chicago with my precious friend Cindi. People, this trip was every girl's motherfrakkin dream.

WEDNESDAY: 

  • After a flight delay that caused us to miss our original Tuesday evening plane, we eventually arrived in the city. 
  • But not before I was introduced to God's greatest gift, the Stroopwaffel. You guys, I didn't know this existed. But it does. It DOES. Two waffle wafers with molten caramel inside that melts when you place it atop a coffee cup. Goodbye, willpower. 
stroop.JPG
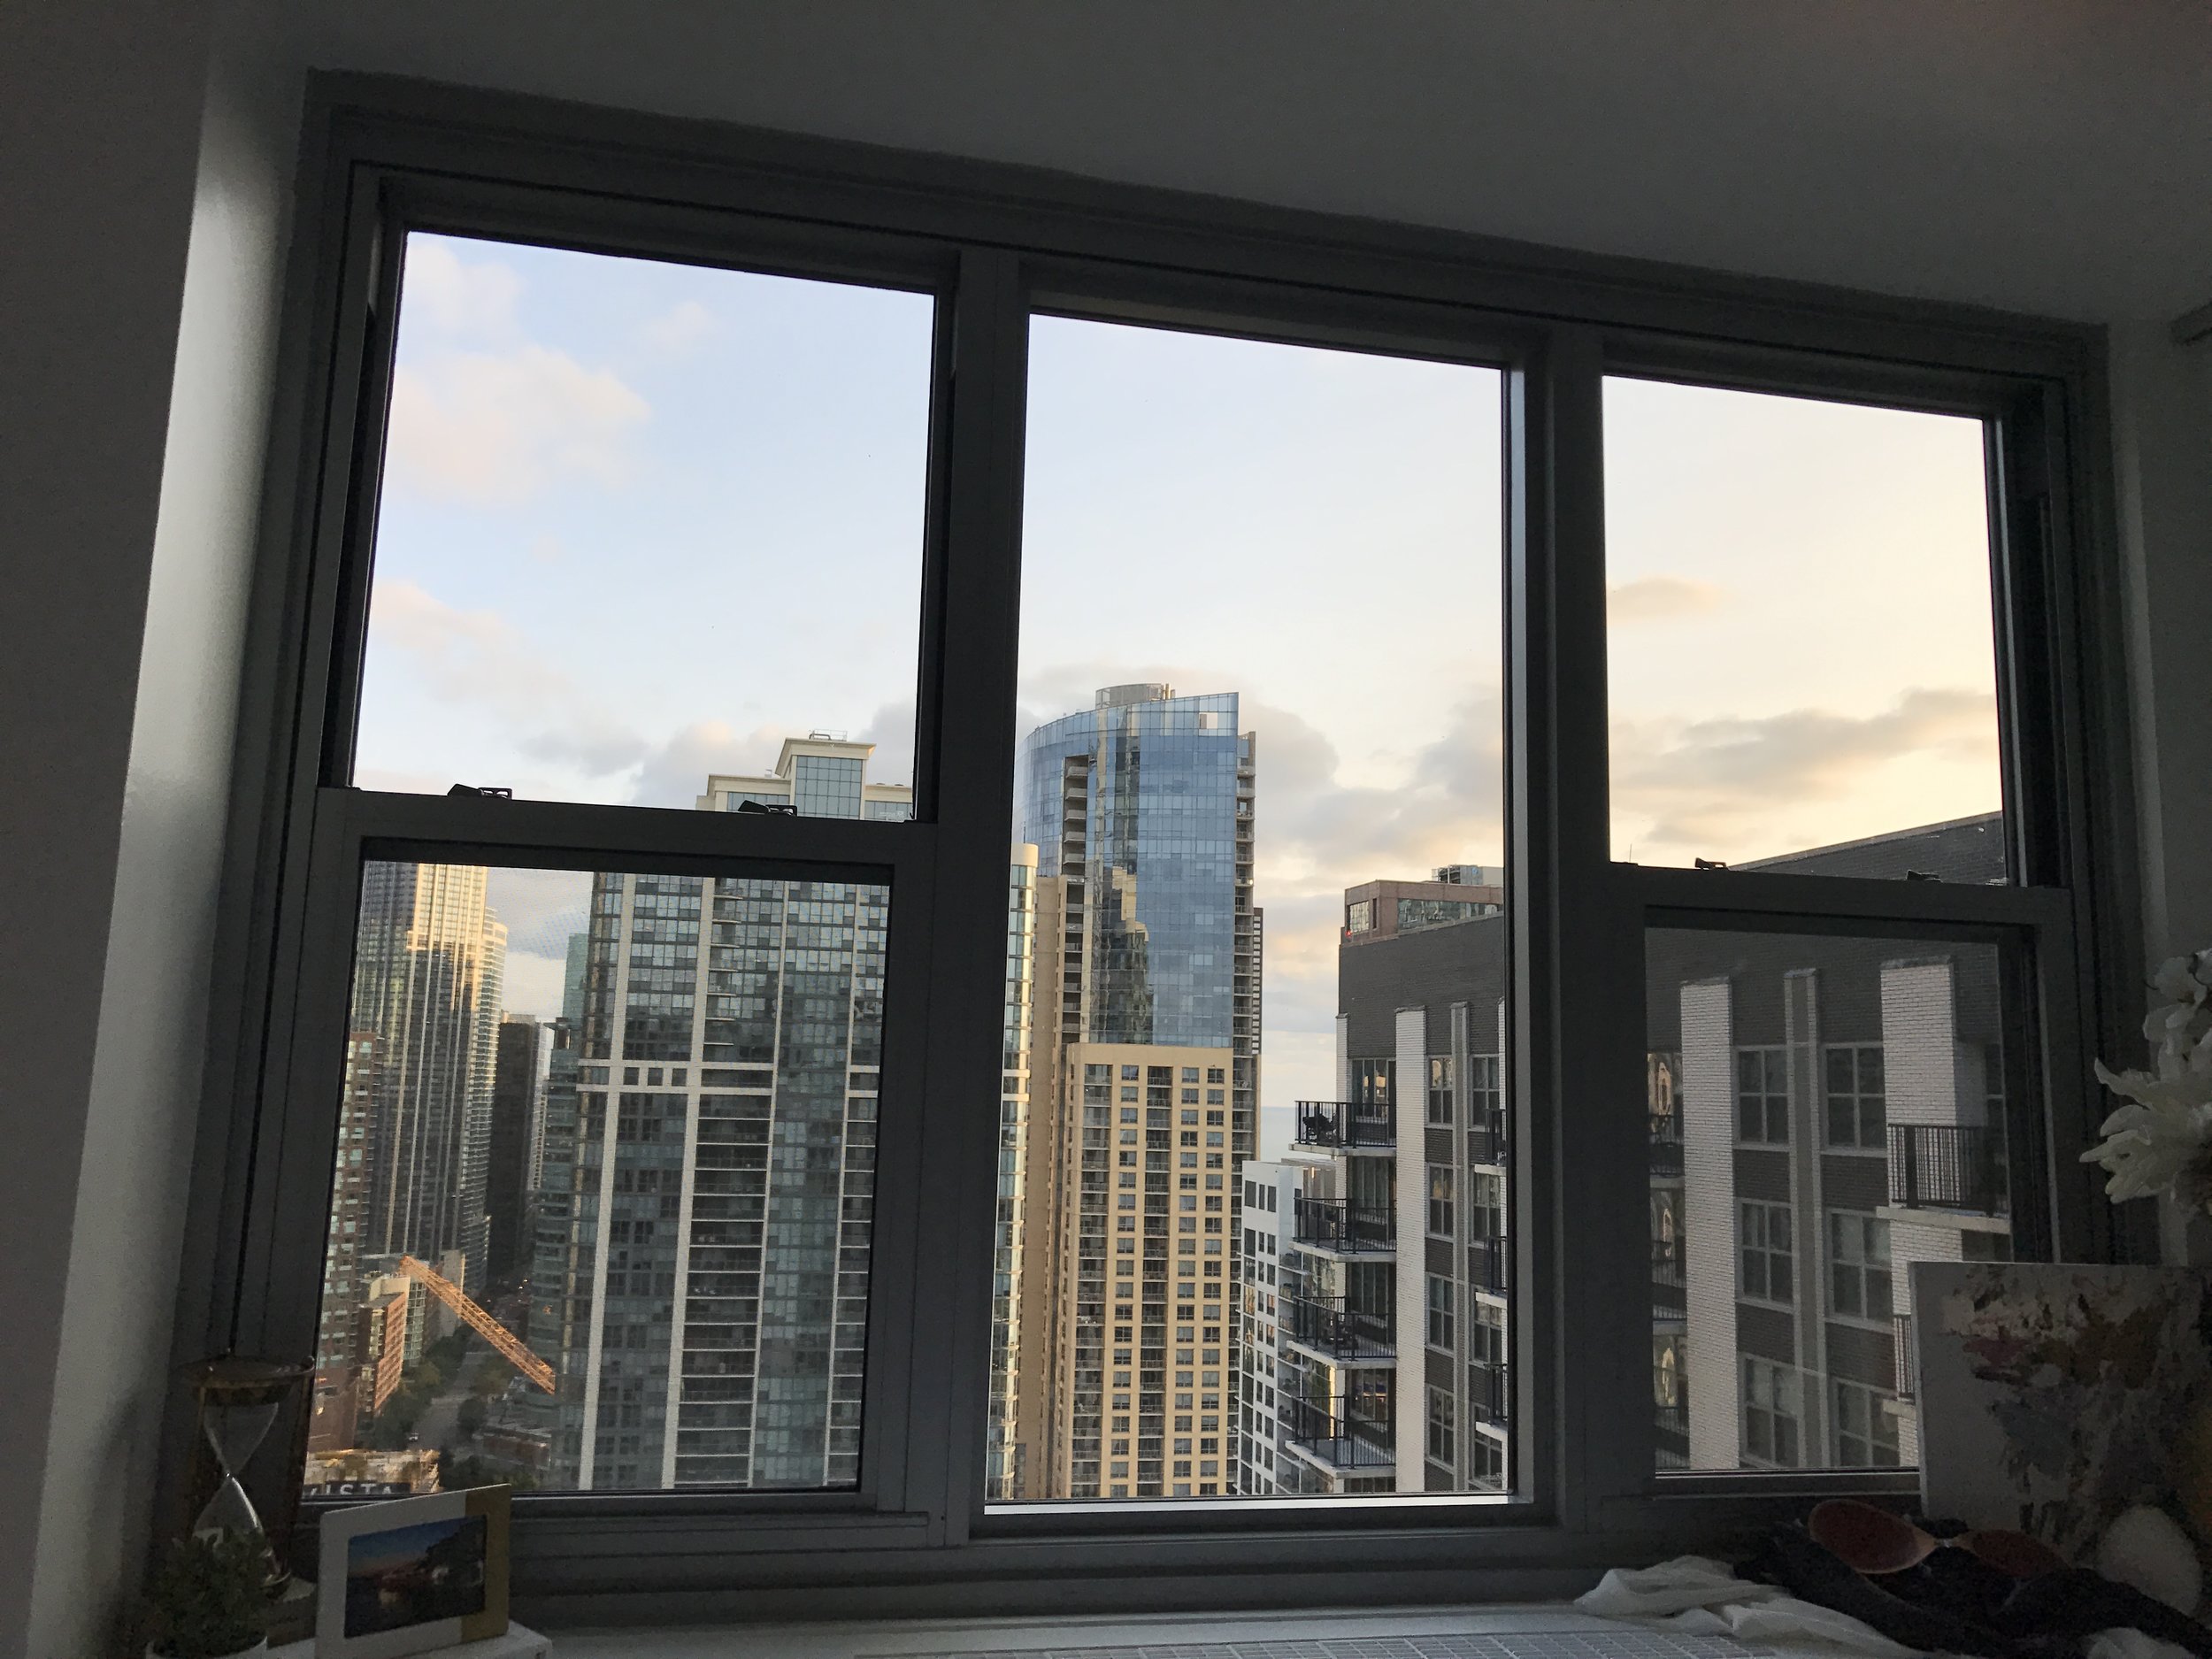
  • We then arrived in the most chic and fabulous condo of all time. Mmhmm. Do you wish you lived here? I know. I know. And Cindi did all the decorating herself, because she's not a real person and is insanely talented. 
  • Drooling is an appropriate reaction. My own drool started with condo lust and just kept happening because of ALL THE FOOD, like this: 
  • After we were stuffed up to our eyeballs, we had our nails done and took naps. I'm telling you, it was Girl Heaven, this trip was. 
  • We then decided we needed to probably go outdoors and move around for some portion of the day, so we took a stroll around Maggie Daly Park. Unsurprisingly, it was extremely charming. 
  • Look at all these adorable little play areas for kids! 
  • After our stroll around the city, it was back to the condo for a quick jaunt to sea! Well, not sea, Lake Michigan, but you get the point. Cindi rounded up some buddies and we took to the water armed with to-go meatballs and beef sandwiches because #chicago. 
  • Not a bad way to spend a Wednesday night. 
  • Dream. 

Thursday. 

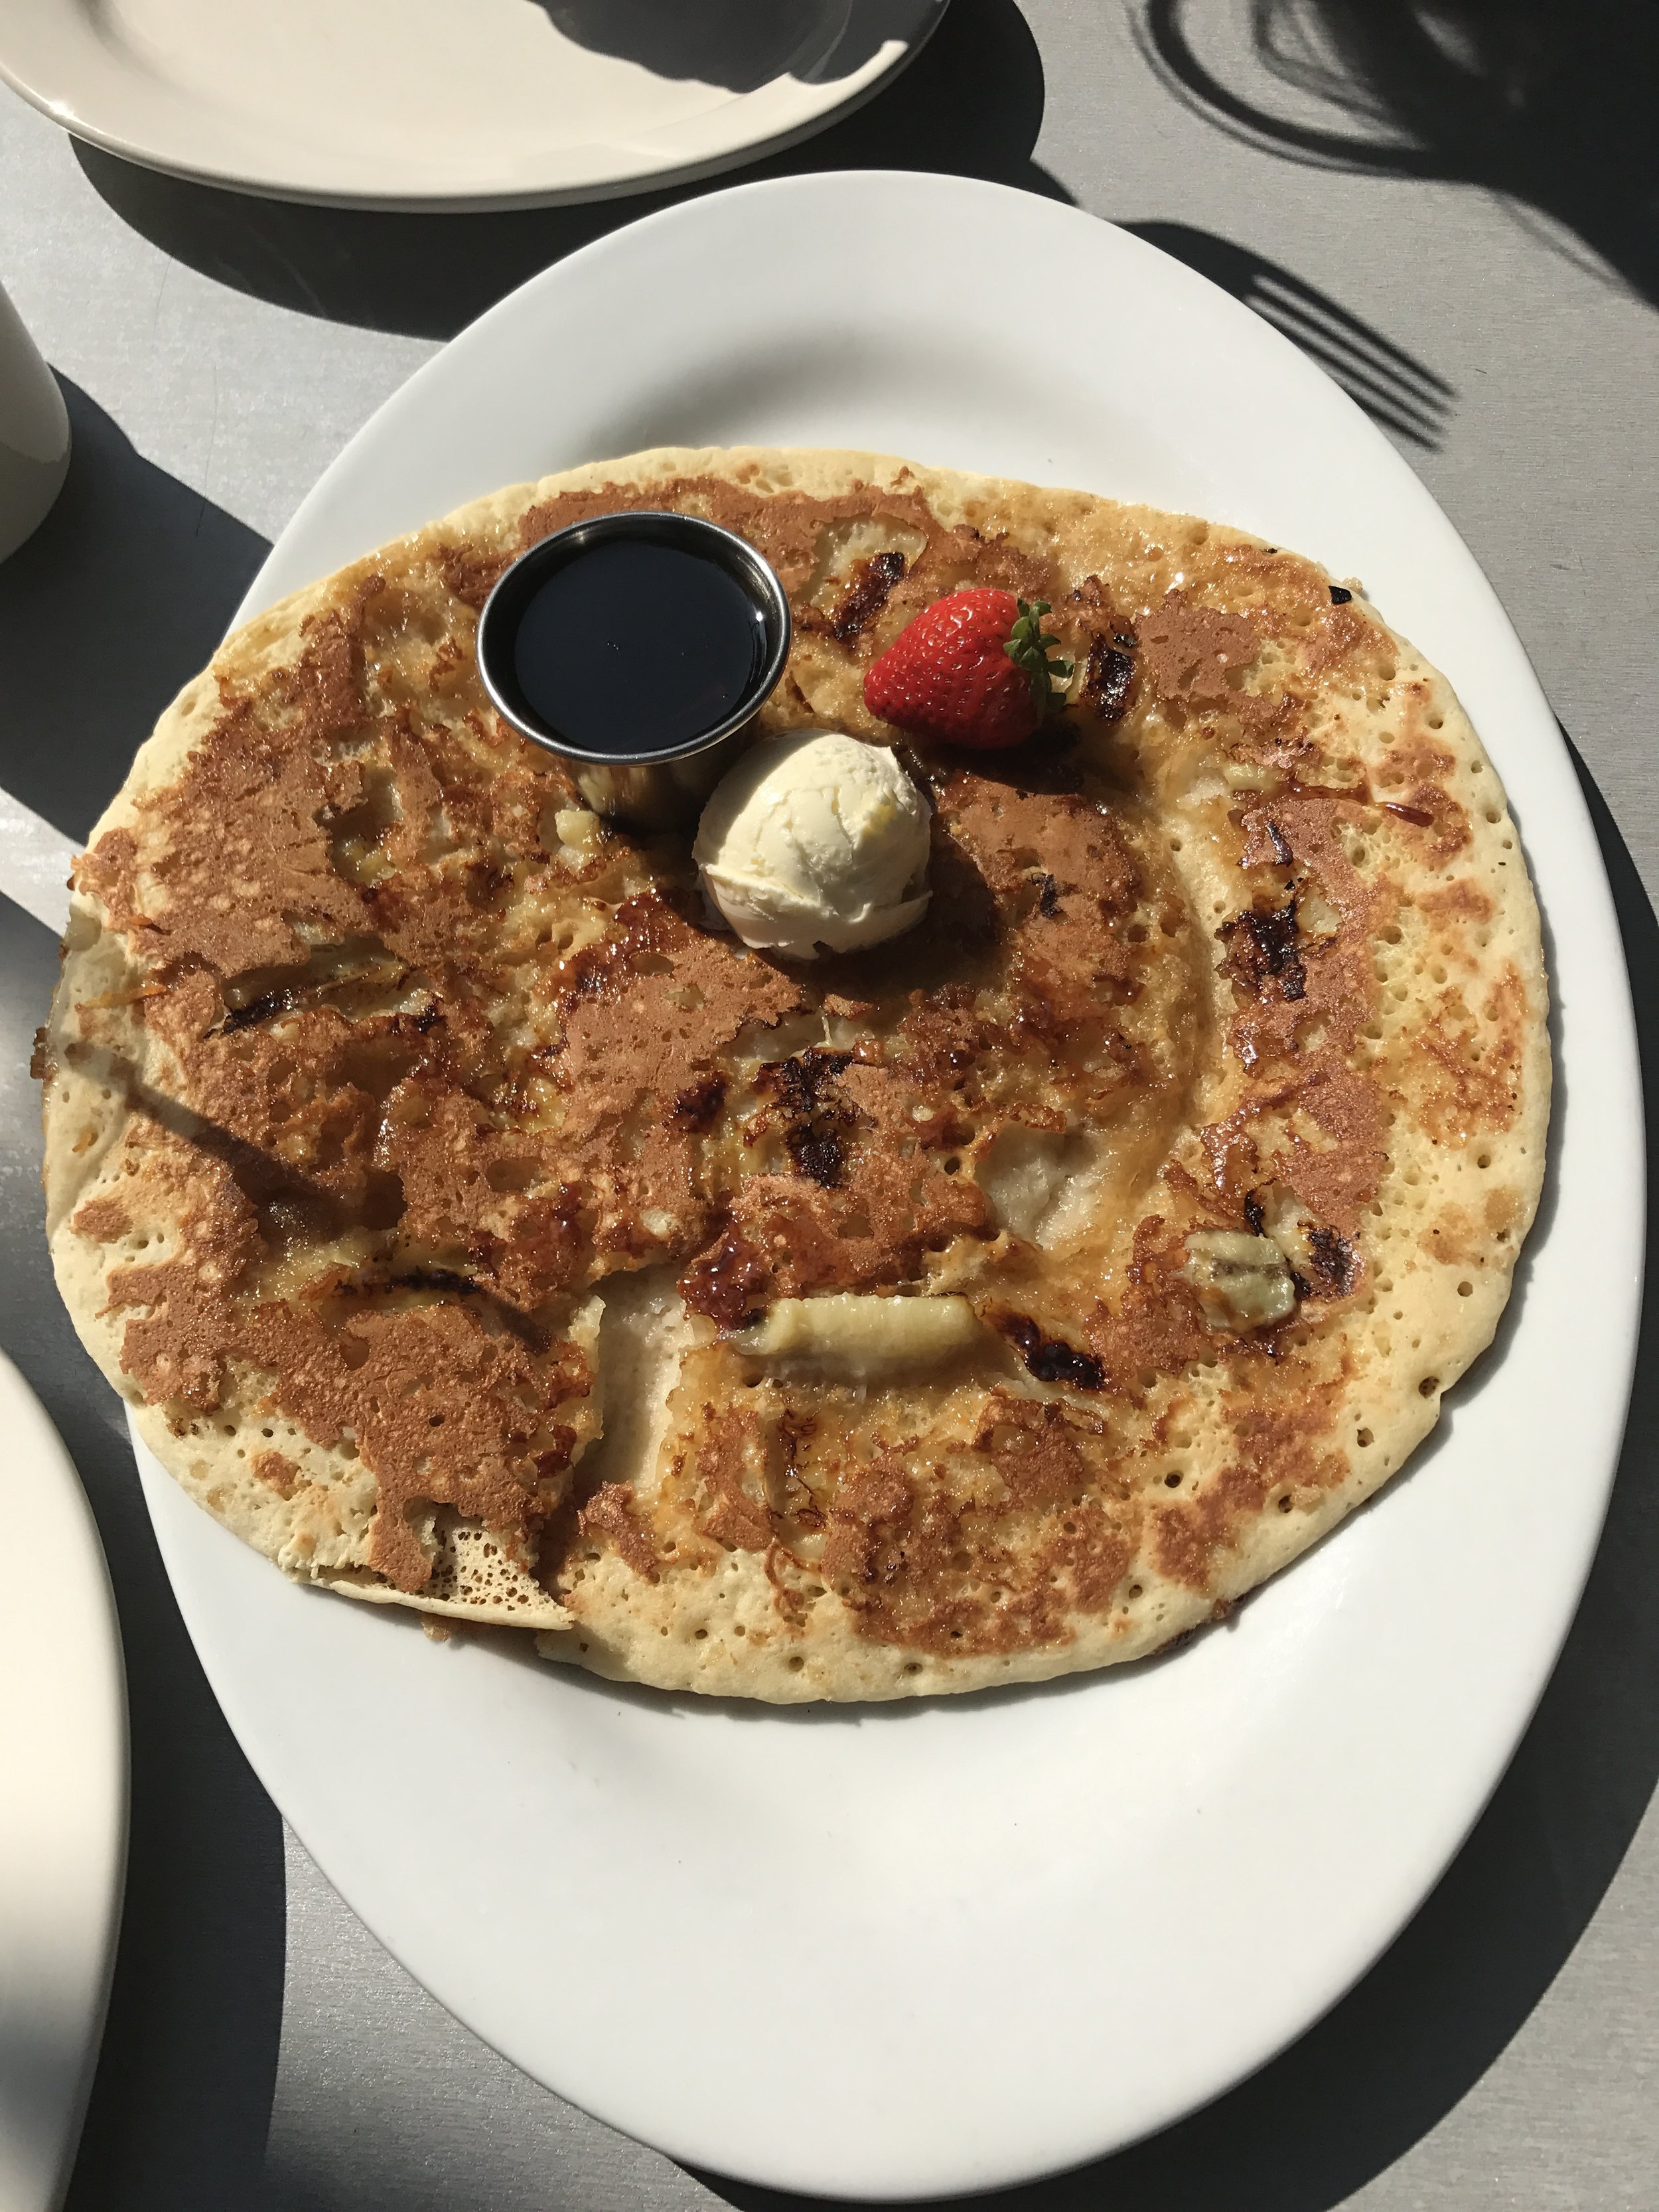
  • We kicked off right with breakfast at a local Chicago restaurant, Hash House A Go Go, that's famous for its portion sizes. Which became clear, when they served us a bananas foster pancake the size of a pizza. 
  • By the way, we had that pancake as an appetizer. At breakfast. Did I mention this was Dream Week? 
  • D-voured. 
  • We walked around a bit, visited Cindi's sweet mom, went back to the condo for naps, then struck out for a late afternoon coffee-and-walk run before our insanely delicious evening plans: RPM (a fab Italian restaurant) and HAMILTON. 
  • DID I MENTION WE SAW HAMILTON? 
  • WE SAW HAMILTON. 
  • So as we approached dinner, pregnancy hit me with a nasty headache, which means I was lousy dinner company and also have no photos of our beautiful meal. But I do have pictures of us FAH-REAKING OUT on the way to the show!! 
  • Maybe the most tragic outfit choice of all time for me, but y'all, I just didn't care because HAMILTON. 
  • I think that experience requires a separate blog post. It was overwhelming. I have literally been singing songs from it EVERY DAY since we've been back. I wake up with the songs in my head. It's just insane. 

Friday and Saturday.

  • Good morning, Chicago! 
  • Fabulous Friday, we awoke and started packing the car for the next leg of our journey: a trek to Cindi's husband MIke's family cabin in Wisconsin. I kept checking cities/states off my list this trip! 
  • Mike had driven up to to Chicago the day before, so we got the pleasure of Jake and Elwood's company while we were packing - those two cute little Frenchies down there. 
  • On our trip, I had my first Culver's experience. Delicious, which is no surprise. #fastfoodforever #gonnafailmyglucosetest 
IMG_1619.JPG
  • Our experience over the next two days is largely undocumented because it was a largely technology-free weekend. Which was FANTASTIC. We met up with Cindi's Chicago girlfriends in Wisconsin and just lazed around. We hiked a little, ate a lot, and spent a lot of time with movies, great conversation, and lots of alcohol. 

Sunday.

  • Early Sunday morning, we woke up, packed up, and headed back to Chicago. This was such a delightfully restful part of the trip, and I really enjoyed a little quiet time on the dock Sunday morning. It kind of hit me that this was the last girls' trip I'd ever have a non-mom; that every trip from here on out, I'd have to make childcare arrangements or bring that baby with me. I am SO excited to be a mom, but I'm also very conscious of bidding farewell to parts of my life that are going to change. Got a little choked up this day as I said goodbye to Wisconsin and goodbye to this chapter of life! 
  • The lump in my throat didn't last long, though, because before long we were back in the city and getting hour-long massages. Because...YES. Have no photos of the spa because I was trying not to be a redneck, but it was gorgeous and we drank delicious tea and everything, everywhere was good. Turns out prenatal massages are WHERE IT'S AT.
  • When we arrived back at the condo, it was time for the main event: 
  • CHICAGO
  • DEEP DISH
  • PIZZA. 
  • IN ACTUAL CHICAGO.
  • So a little backstory: 
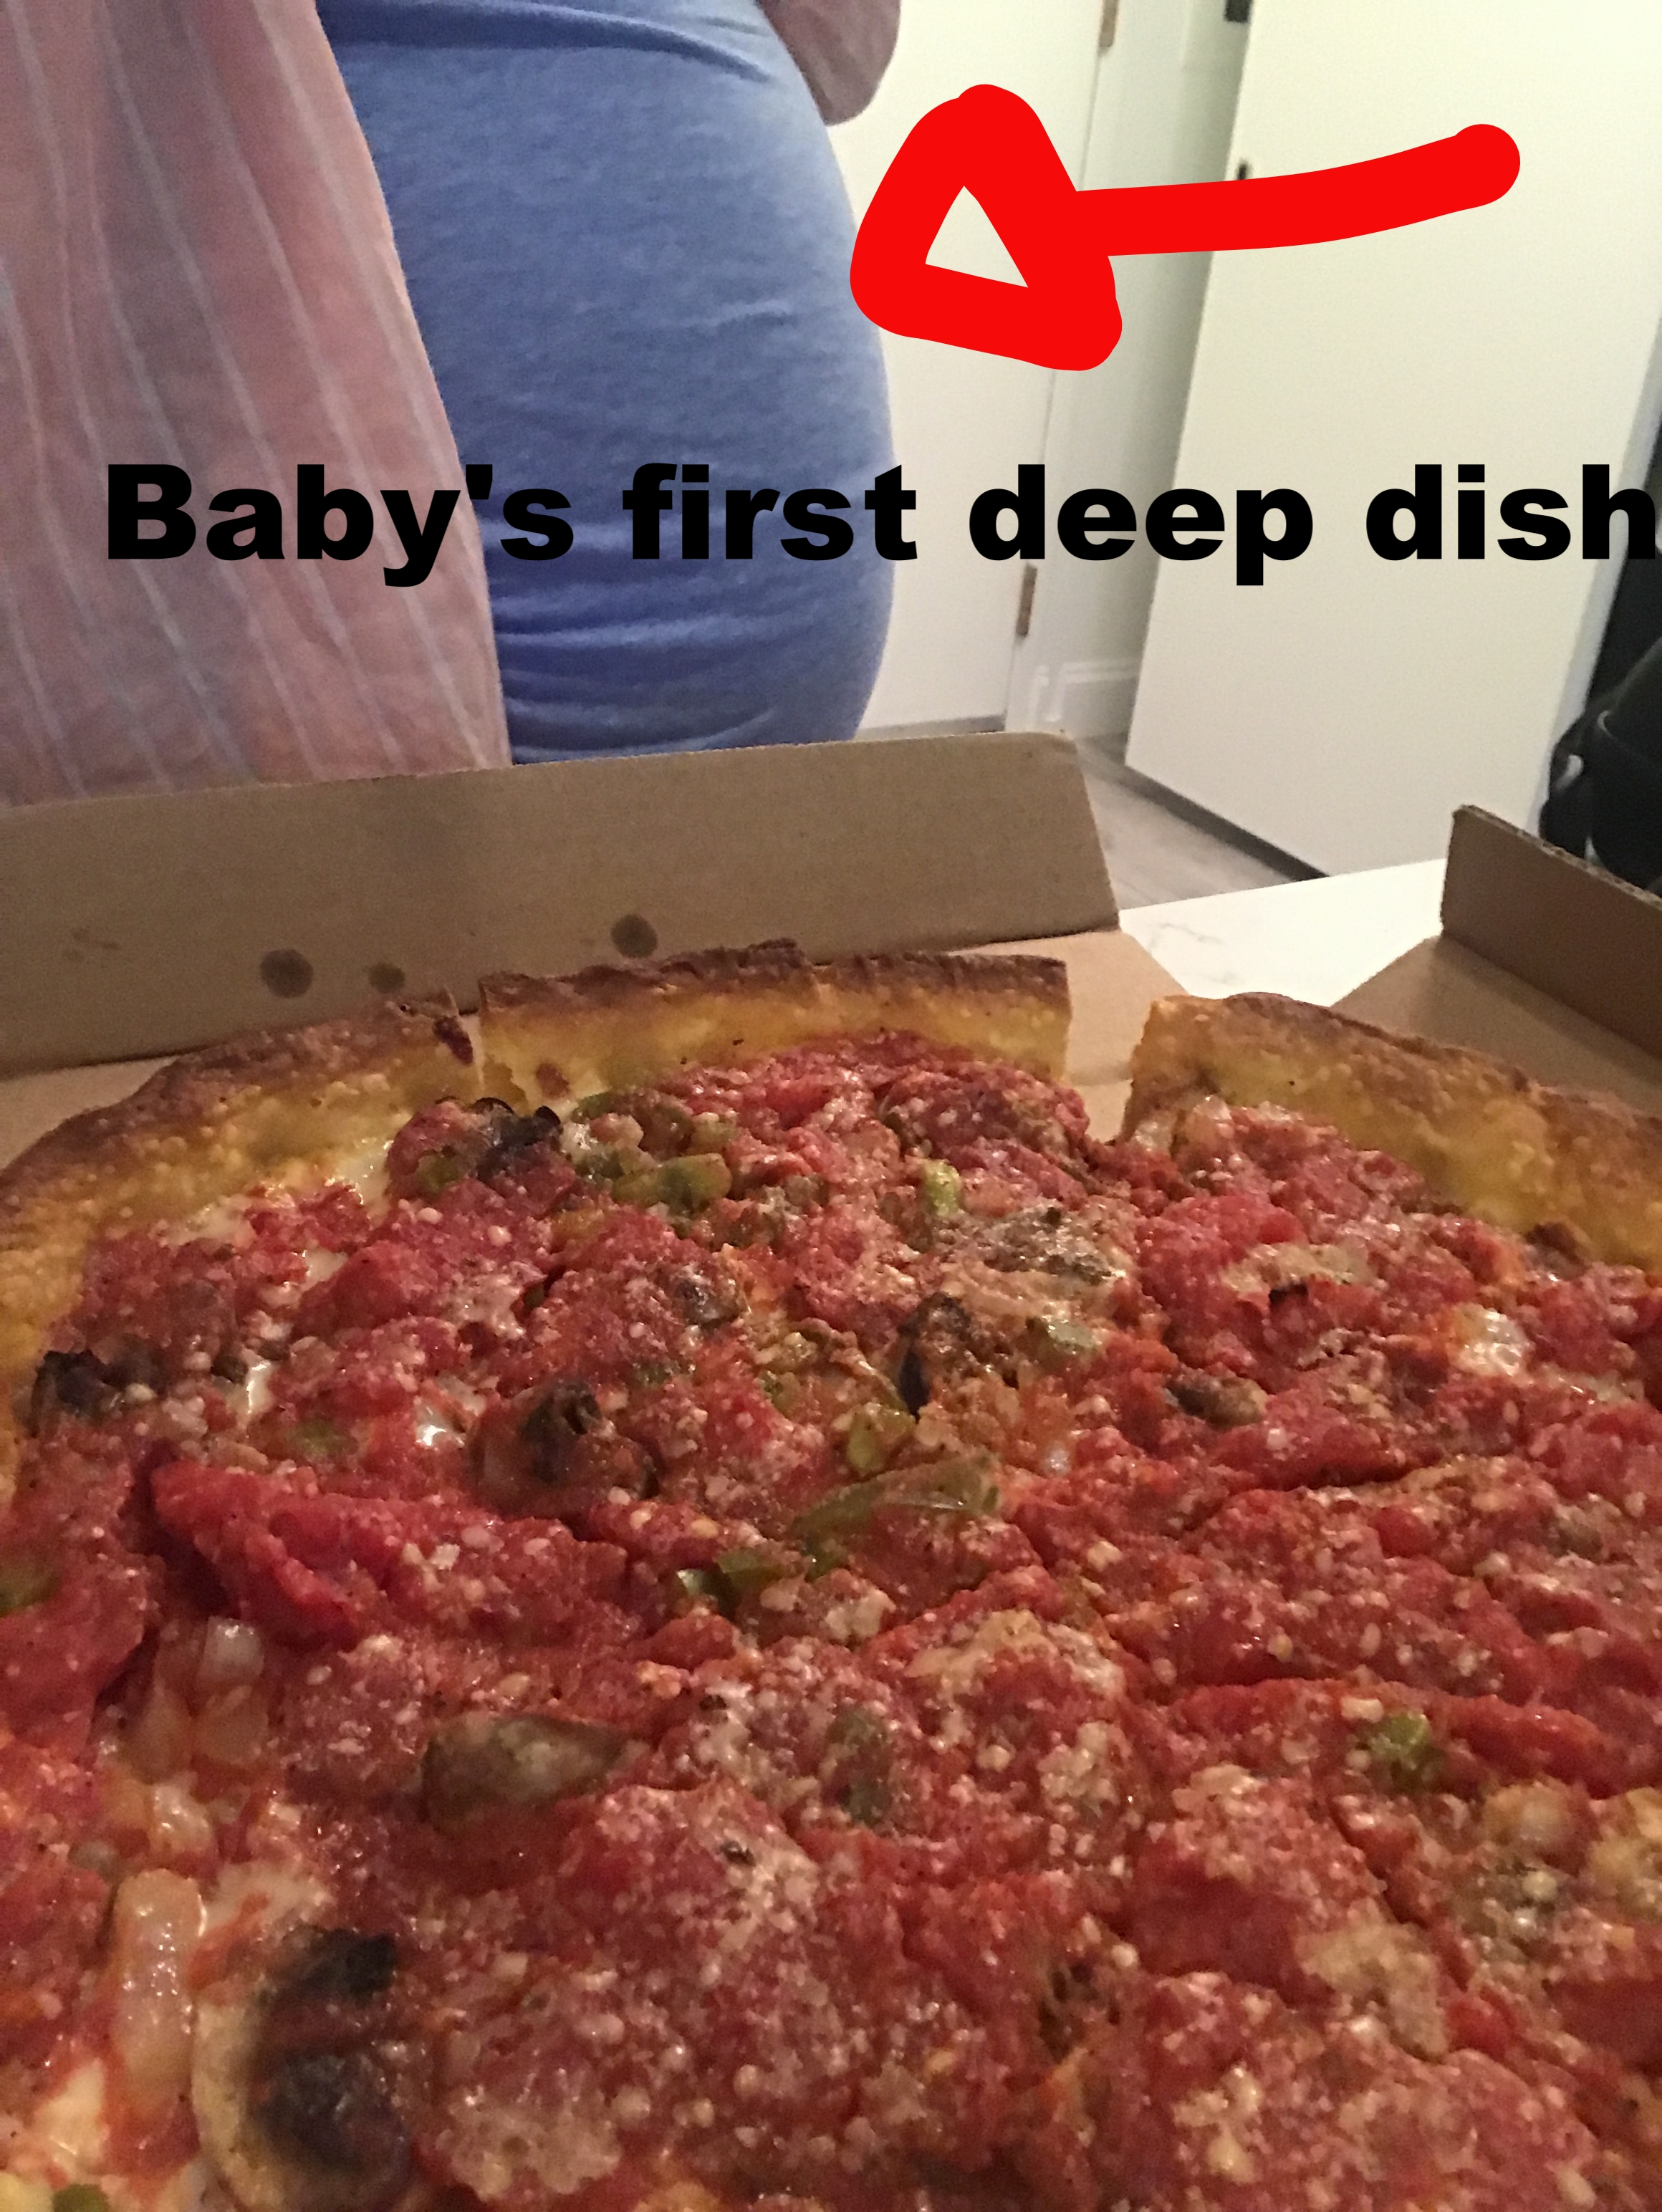
  • Cindi and Mike gave our neighborhood deep dish pizzas last year for Christmas. I had never had a deep dish pizza (how this was possible, I'm not sure), but I have never taken a bite of anything and been so instantly in love. Love at first bite, if you will. So deep dish in Chicago was obviously going to be a huge part of the trip. Here are some photos of me with the pizza: 
  • We watched The Founder on Netflix and passed on in a pizza and cheesecake (did I mention I'm going to fail my glucose test?) haze. Nothing has ever been sweeter. I mean, it's like 1. This deep dish, 2. My wedding day. 

And just like that, it was time to come home! Since we started with a Stroop, the only logical conclusion to the trip also had to be with a Stroop: 

IMG_1653.JPG

Easily one of the best trips of my life. Thanks to my incredible friend Cindi for an unforgettable experience, and to ChiTown, you beautiful city - can't wait 'til next time! Thanks for showing me your very best self!