Hey, friends!
So one of the big resolutions I made to myself when I started this blog a few years ago was that I didn’t want to be a fashion/beauty/lifestyle blogger. Today, I’m breaking that promise to bring you something that I believe is pretty freakin’ worthwhile: the 5-day hairstyle.
You heard right: style once, wear for 5 days. Don’t believe me? Check it out.
This little trick has helped me enormously since I had a baby, though I figured it out long before Mac was born. I was always a person who said, “My hair won’t hold curl.” It turns out that’s a bunch of hooey. ANYONE’S hair can hold curl - even the most limp, flat, fine, straight hair. Trust.
So this process is called “pin curling,” and it’s a really old technique. The science behind it is that if you allow your hair to cool while it’s still in the shape of a curl, it retains the shape for a lot longer. Think about it: if you curl your hair with a curling iron, then immediately let it drop back down as it cools, the curl will be a lot looser because it’s cooling in a more open, wider shape, instead of in a tightly-wound curl.
It’s a little bit of work on the front end, but it takes no more than twenty minutes. And when you’re through, you have 5-day hair - 20 minutes for 5 days? Worth it.
You’ll need:
- Clean hair
- Duck clips (the long, silver clips you see at the salon)
- A 1’’ curling iron (if yours is a little larger or smaller, that’s fine - we’ll get to how you can make that work)
- L'Oreal TXT It Tousle Wave Spray (optional, but great)
- 20 minutes
Step One:
Wash, dry, and blow your hair out. A “blowout” doesn’t need to be salon-quality - it just needs to straighten your hair and get it completely dry. I divide my hair into two sections with a large clip, dry the bottom half with a paddle brush, then dry the top half with a round brush, pulling the brush up and through my hair as I dry it to give it some volume around the crown. Whatever method works for you is fine - just needs to get the job done.
Step Two:
Grab a two-inch section of hair and use your curling iron to curl it under, all the way toward your scalp. The direction you curl it is up to you - if you want to have a salon blowout look, curl it under. If you’re going for more of a Victoria’s Secret wave, curl the hair around the closed barrel of your curling iron. That’ll make more sense in the video below.
Step Three:
Release the hair from the curling iron. Then, using two fingers on your non-dominant hand, curl the section of hair around your fingers back up in the same direction as before, and secure it with a duck clip. Make sure the curve of the clip is facing toward your scalp, not away. If it sounds confusing, use the video tutorial below as a guide.
Step Four:
Repeat the process until your whole head is covered in pins.
Step Five:
Give your hair some time to set. Do some housework, make some phone calls, or if you’re doing it in the morning before work, make this the first step in your routine. Do your makeup and have your coffee while your hair cools!
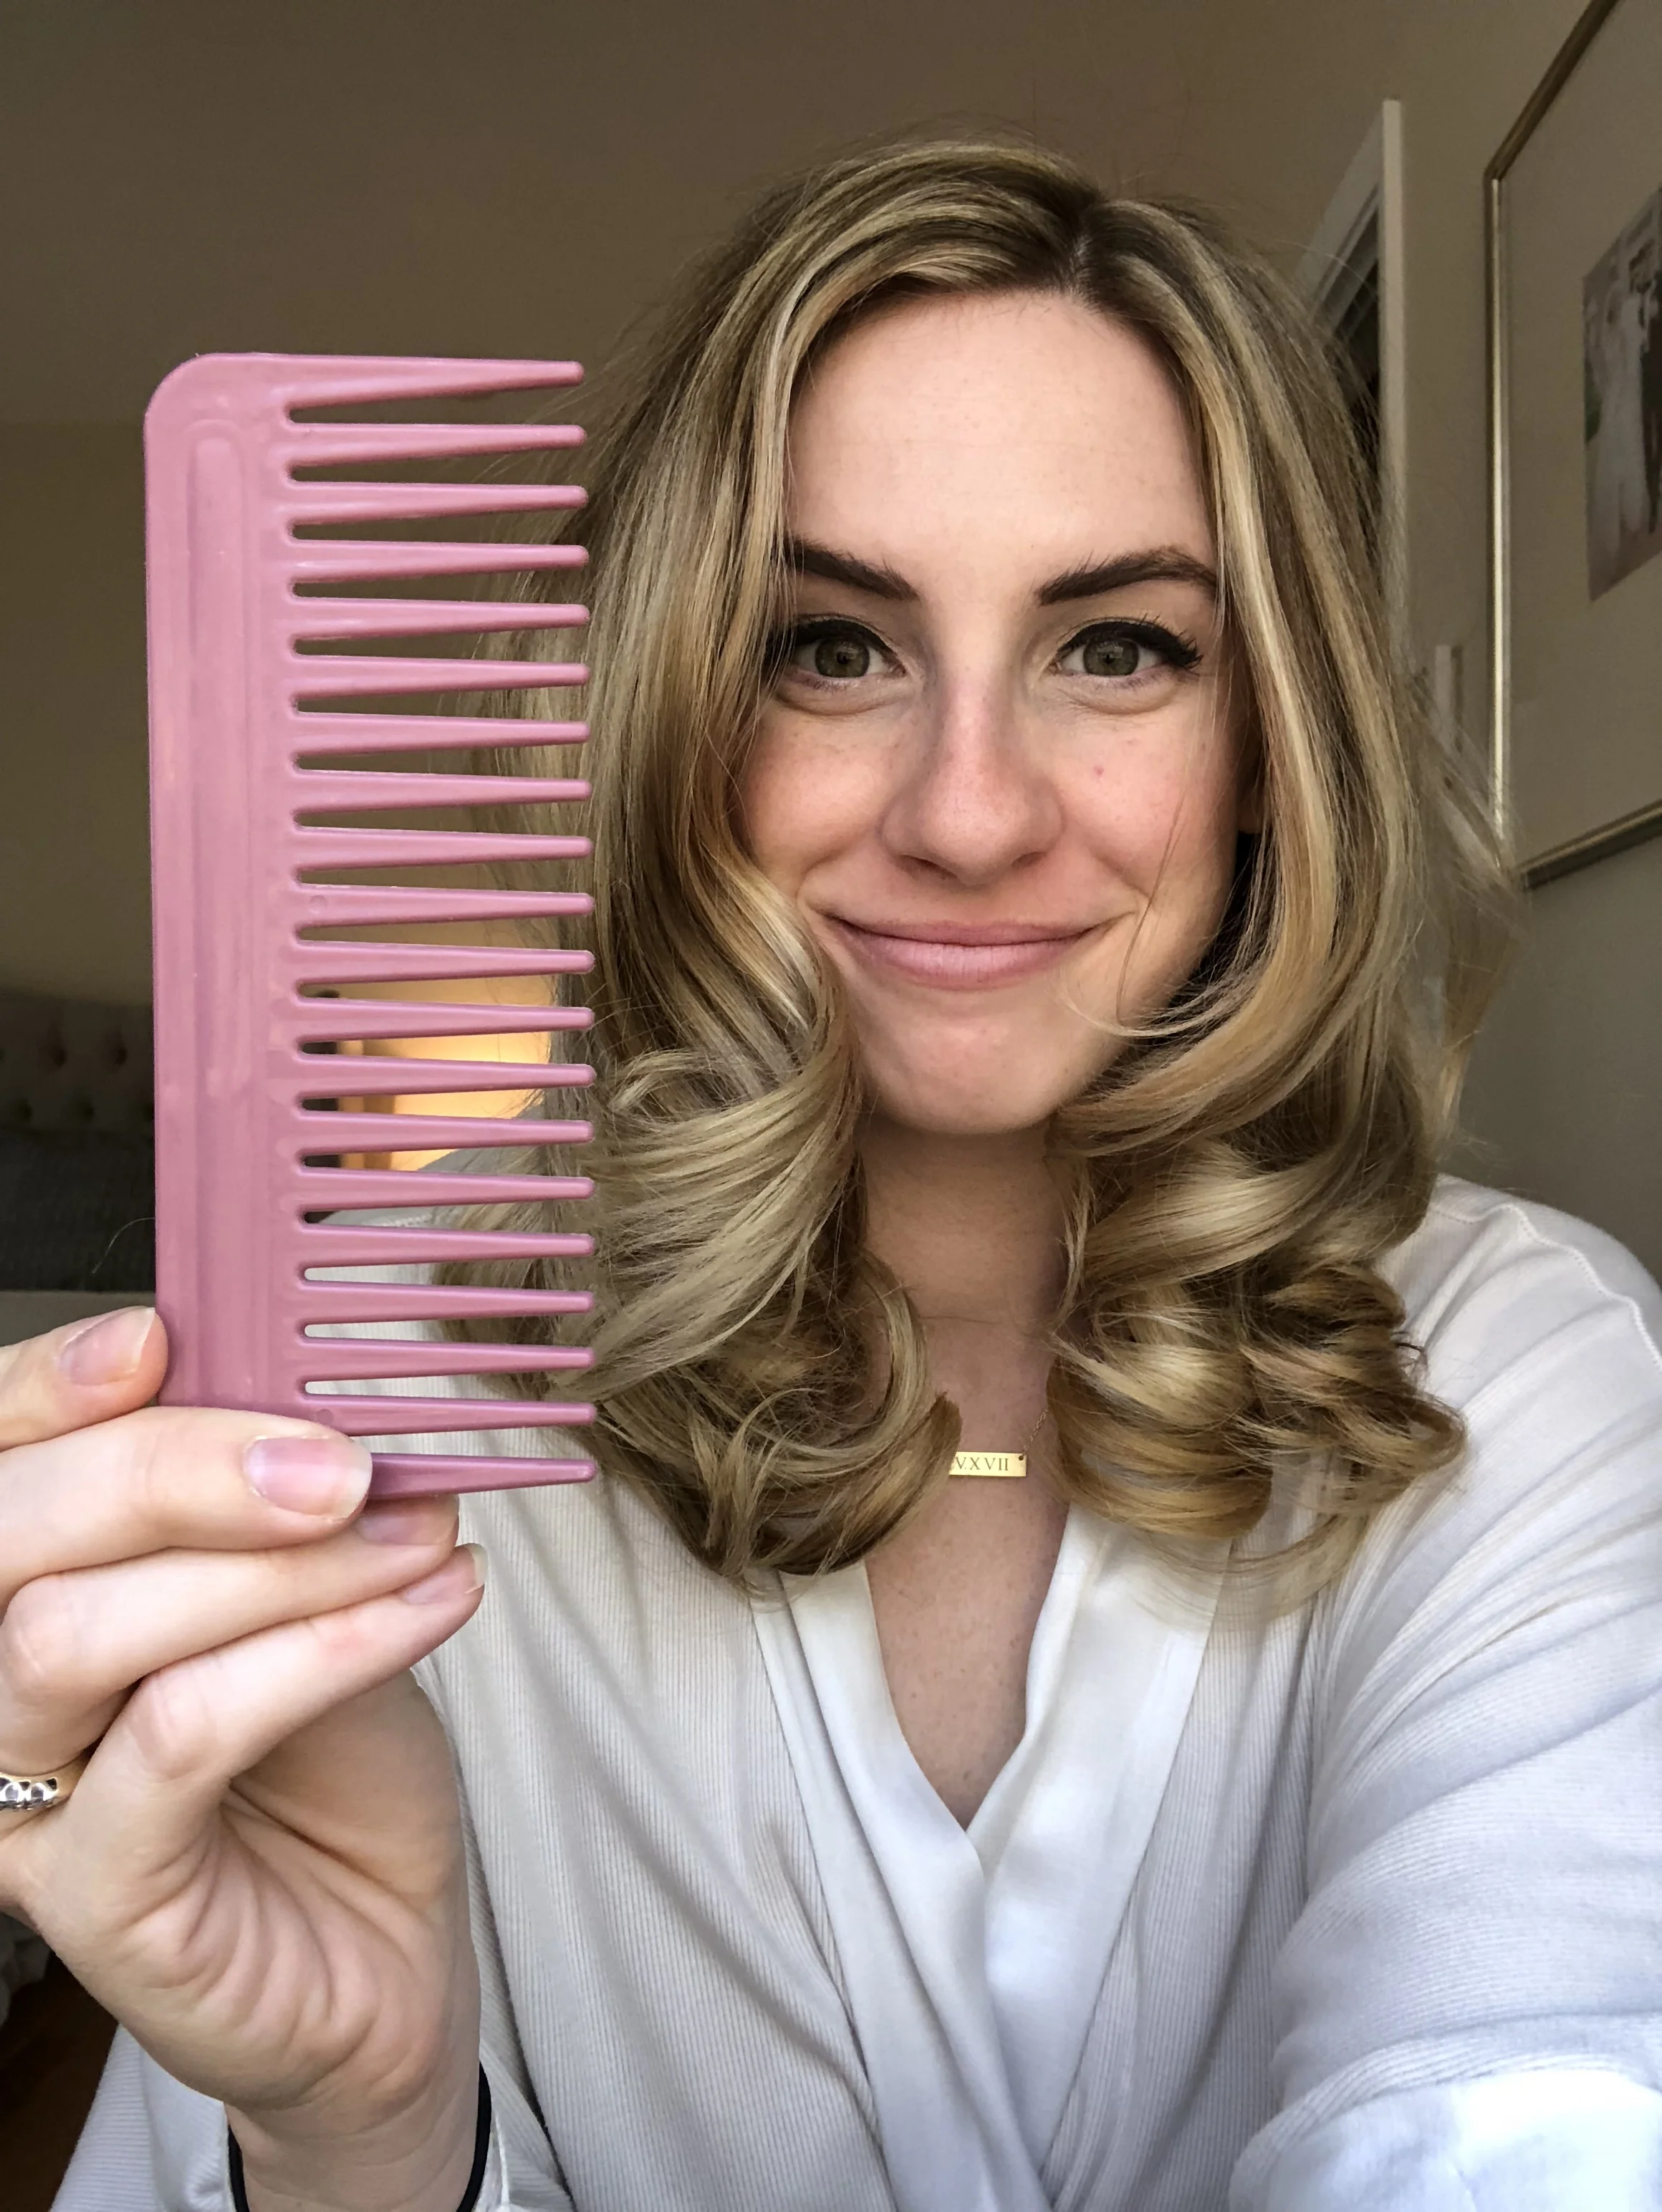
Step Six:
Take your hair down and comb through it with a wide-toothed comb. Don’t worry - this step isn’t going to destroy your curls. It’s just going to calm them down. Make sure you complete this step with at least ten minutes before you need to be anywhere so that your hair has time to settle and you don’t look like you shoved your finger in a light socket, like so:

To maintain your curls all week long:
Before bed each night, wrap your hair into a twisted bun and secure it with a rubber band. I usually loop one loop all the way around the hair, and take the other loop halfway over the bun to make sure it stays in place all night (watch the video below for a detailed walk-through).
In the morning, take your hair down and you’ll discover that you’ve still got an “out in public” ready head of hair. Hooray!
Just to show you that this works, I documented 5 days’ worth of hair for you. I curled it on a Thursday, and the last photo was taken on a Monday.
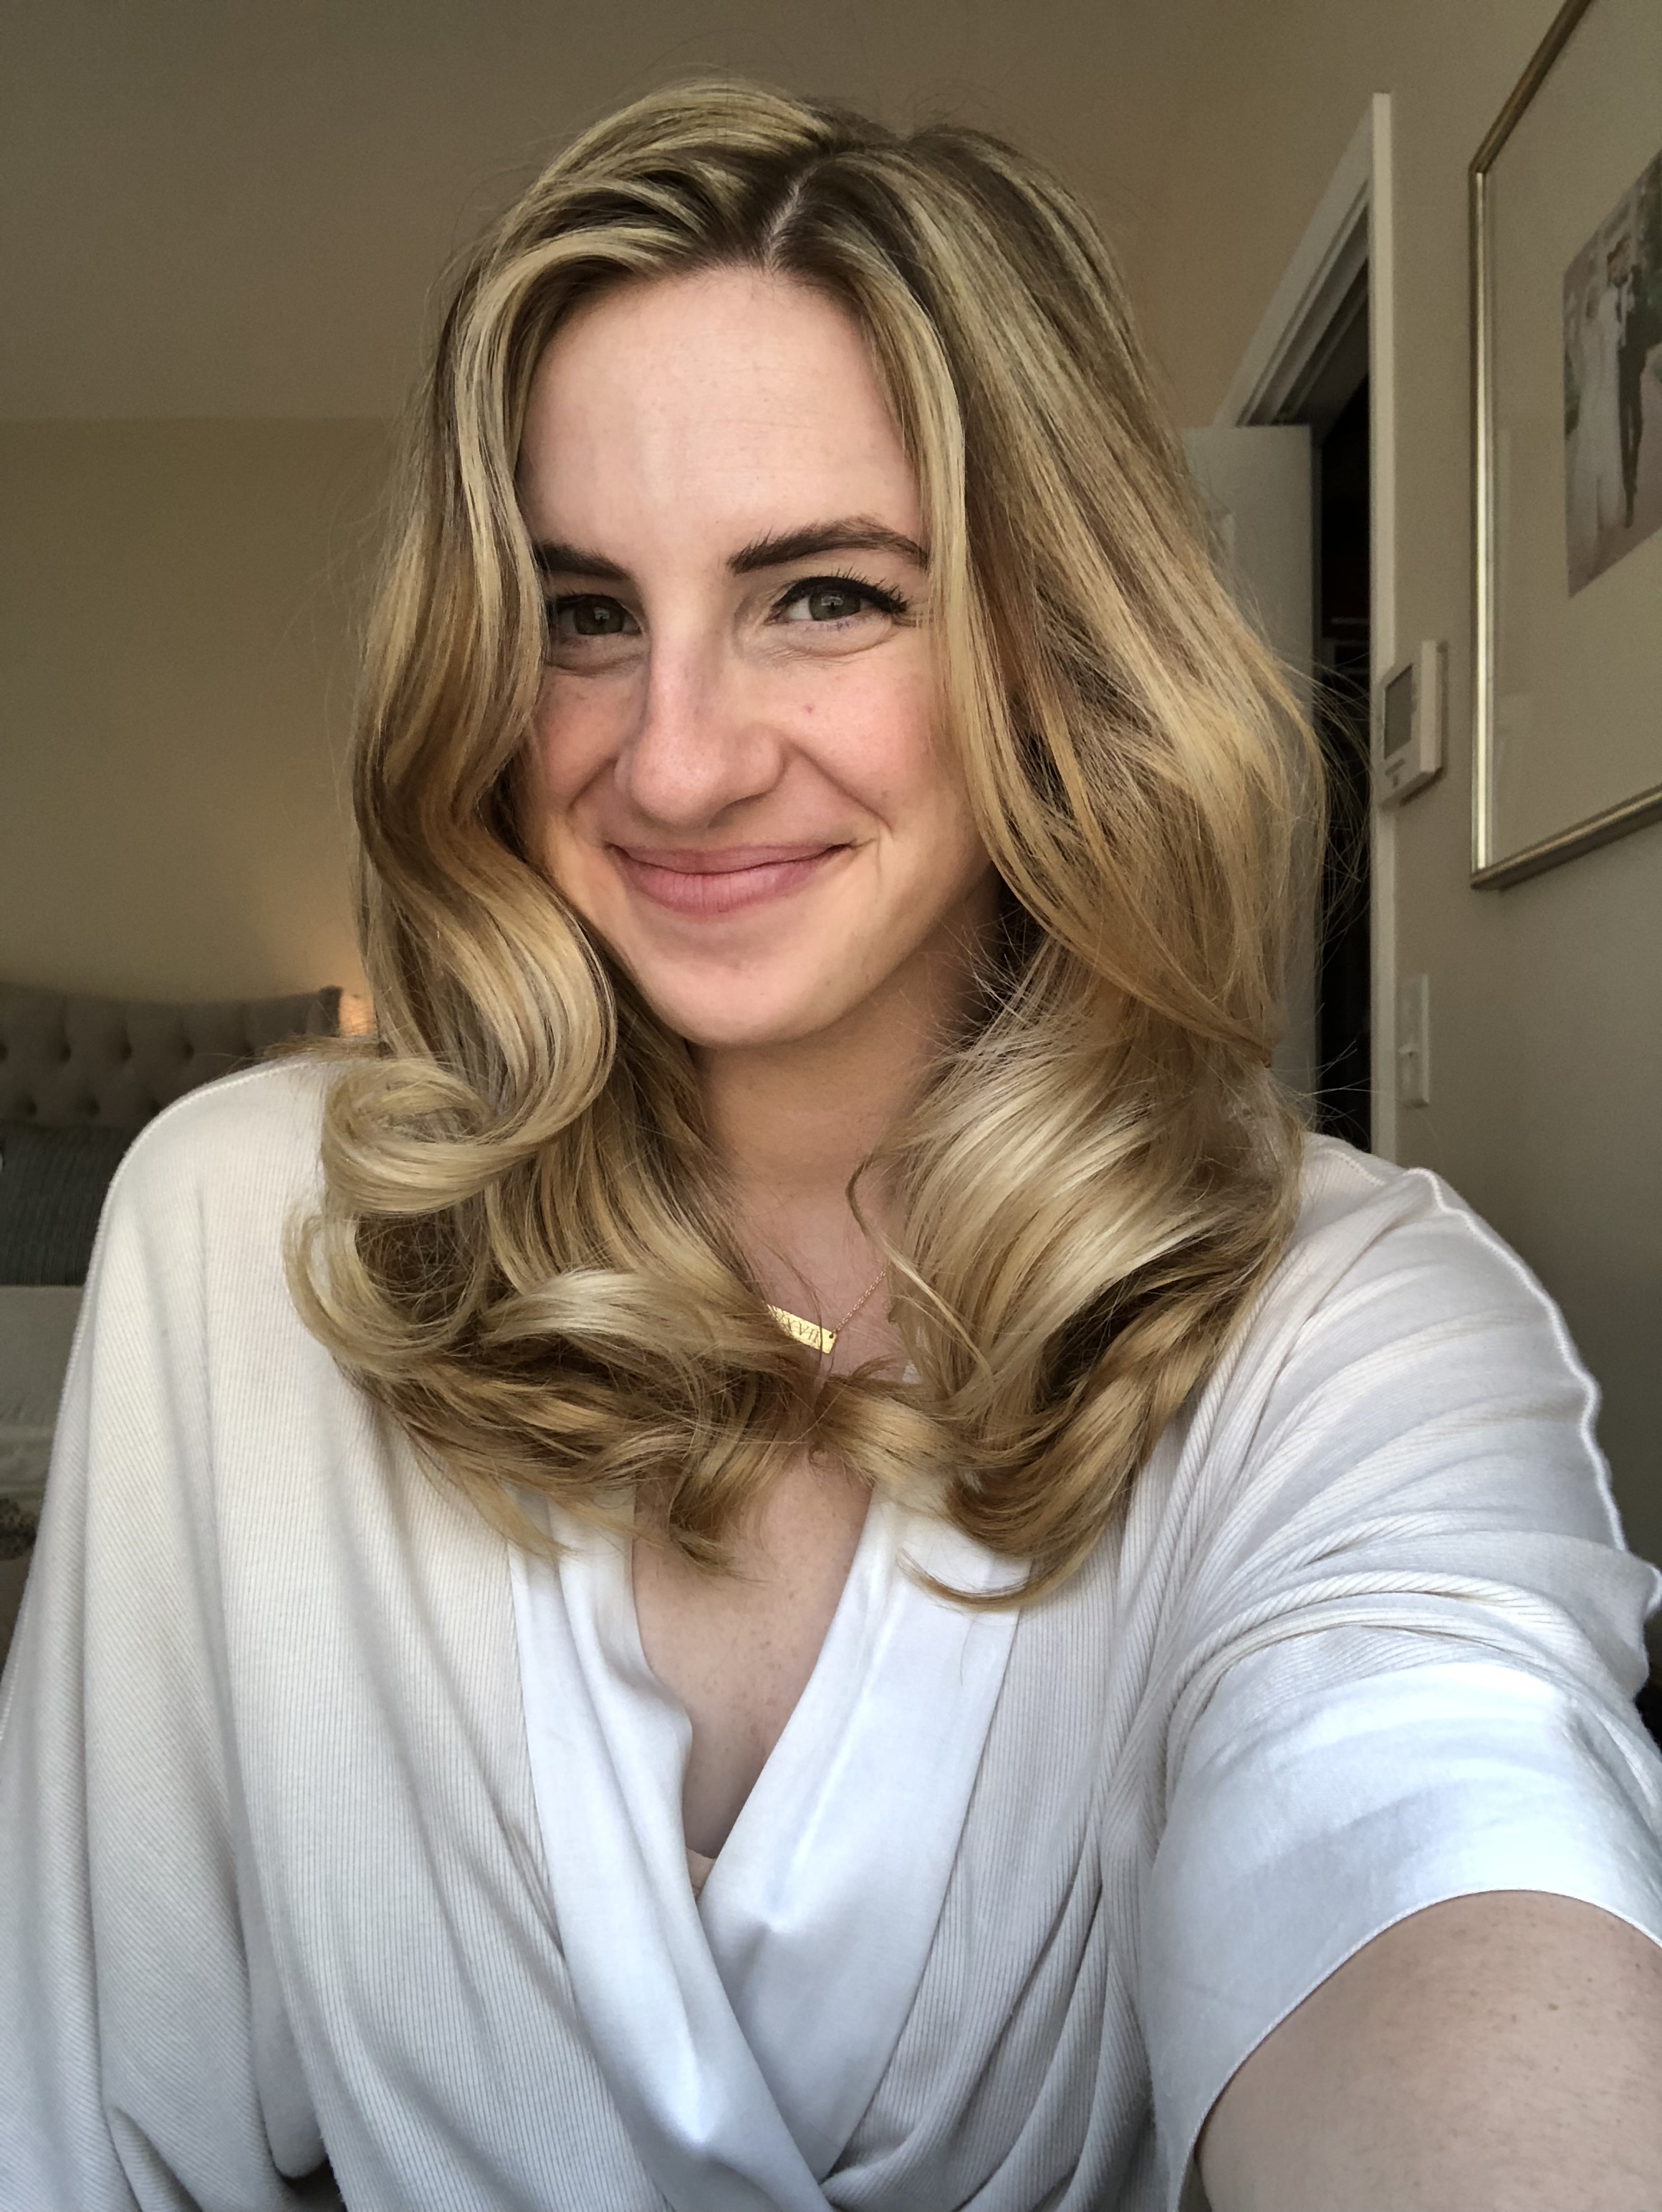
Thursday:

Friday (yes, I’m wearing the same shirt, I have a newborn, don’t judge me):

Saturday (featuring my goofy husband):

Sunday:

Monday (the messiest and yuckiest day):

As they say in My Big Fat Greek Wedding: "So there you go!"
I hope this has been helpful and will save you some time in the mornings that you could use snuggling your babies, sleeping in, or getting extra work done.
Thus endeth my stint as a fashion blogger.
*Bows*